MapCare Update Instructions
MapCare provides peace of mind knowing your device will be up-to-date, free of charge for 3 years.
Please follow the instructions below to update your X208AU, INE-W977A, INE-W997D, X801D-U, X108AU, X701D, X901D, X902D, X802D-U, INE-W710D or iLX-F409E.
Requirements and Limitations:
* Windows XP (SP 2) / Windows Vista (32-bit) / Windows 7 (32-bit or 64-bit) / Windows 8 / Windows 10. Apple Mac is not supported
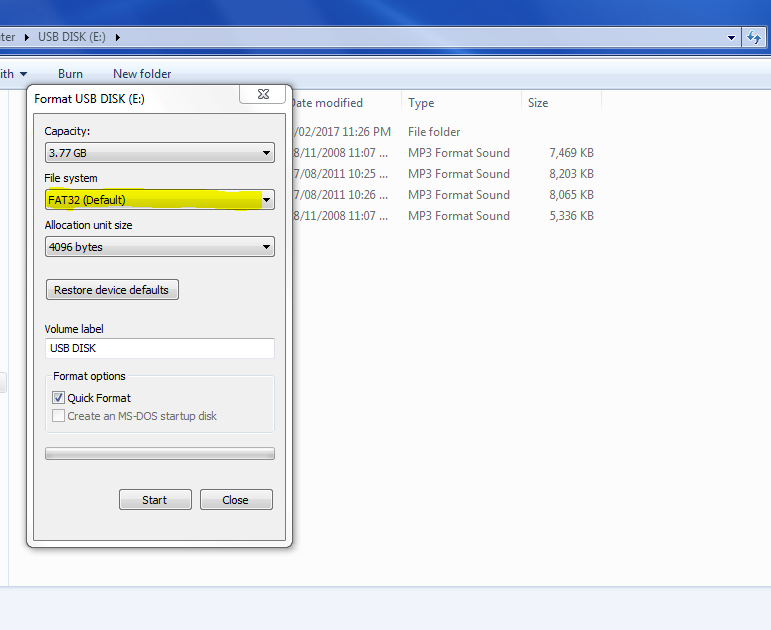
* USB Stick with 8 GB or more capacity recommended, FAT32 formatted
The Hema 4WD Nav Software with its included Hema Maps is provided ‘as is’ and without obligation to software and map updates (INE-W710D, X802D-U and X902D only). Hema is not associated with Alpine’s ‘Map Care 3 Year Free Updates’ provided via the NaviExtras website at https://www.naviextras.com
For further information and the Hema End User License Agreement (EULA) refer to the Hema User Guide – click here to view.
1. Download the required software and Register for a Naviextras Account
You will need to download the Naviextras Toolbox software in order to complete your map update process. This is downloaded from Naviextras, please see instructions below on how to download and install this software.
[1.1] Once on the www.naviextras.com website, click “Download PC Tool” in the bottom right-hand corner (orange button).
[1.2] Naviextras will then ask you to log-in or register. Click ‘Register’ button, and register an account now, you will need this account to log-in to the software later.
[1.3] Select ‘Alpine Australia’, then ‘ X208AU / INE-W977A / INE-W997D / X801D-U / X108AU / X701D / X901D / X902D / X802D-U / INE-W710D / iLX-F409E/ BT-50’ as your Device.
[1.4] On the next screen, click the ‘Welcome Guest user! Log in or register’ button in the top right-hand corner of the screen and select “Register”.
[1.5] Enter your details, and then click ‘Create your Account’ button. You will receive a confirmation email now. If you have not received the email after a few minutes, please check your ‘junk’ mail folder. TIP: Select something easy to remember for future use, or keep somewhere safe for future updates.
[1.6] In the email, you need to click the confirmation link to confirm that you have created an account with Naviextras.
[1.7] Click the ‘CONTINUE DOWNLOADING TOOLBOX’ button.
[1.8] Click orange ‘DOWNLOAD >’ button and it will download the file required to install Naviextras Toolbox Software onto your computer. This is the PC software required to download maps.
2. Collect info from Navi Station in vehicle onto a USB stick
[2.1] You will need a blank USB with a minimum of 8GB memory to complete this step of the update. The USB should be formatted in the FAT32 format.
[2.2] Power on the navigation system by turning on the ignition. Connect the blank, FAT32 formatted USB stick to the navigation system using the USB extension cable in your vehicle.
[2.3] Go to the Navigation Menu (when on navigation, swipe from the right side of the screen to the left side of the screen) > Settings (Spanner top right-hand corner) > Then tap “Update”. If the button is not selectable, try to remove then re-insert USB. Alternatively, you can try another USB stick.
[2.4] Synctool screen will start up. Initialisation screen may take up to a minute or so – this is normal.
[2.5] Tap “YES” to Collect Device Information. This should take approximately 1 minute. Do not disconnect the USB Stick or turn the vehicle off during this step as it may not correctly collect device information.
[2.6] Remove the USB Stick when prompted to do so. Tap “OK” to finish this step.
3. Download Map Update to USB stick
[3.1] Connect the USB Stick with the unit information to your PC.
[3.2] Start the Naviextras Toolbox. The prepared USB stick will be recognised as your navigation device. It will take a few moments to communicate with the Naviextras server.
[3.3] At this point you will need to login to your Naviextras account. If you have not already created a Naviextras account, please refer back to step [1.2].
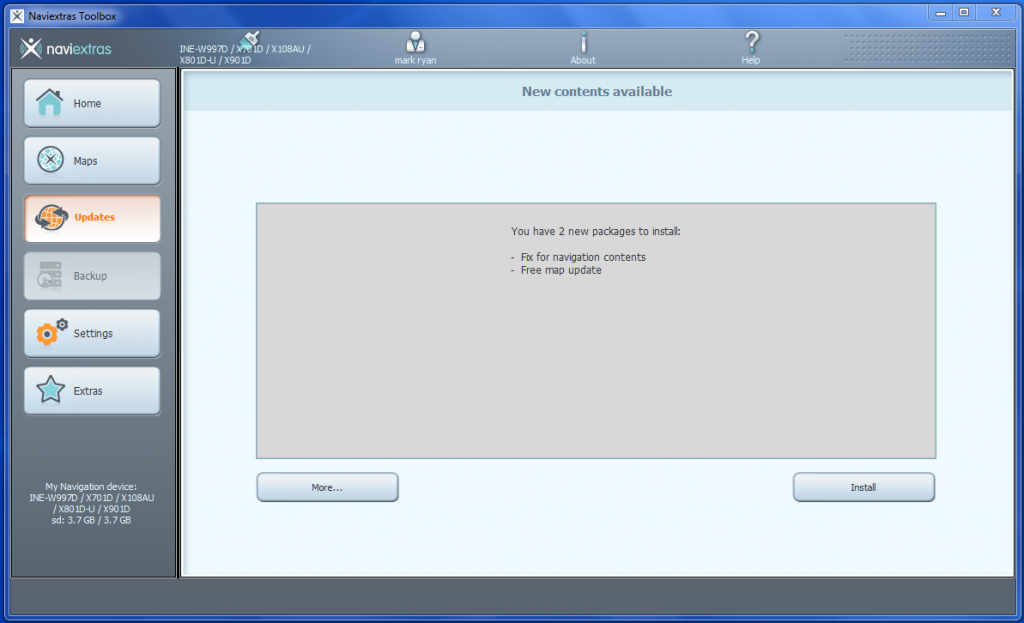
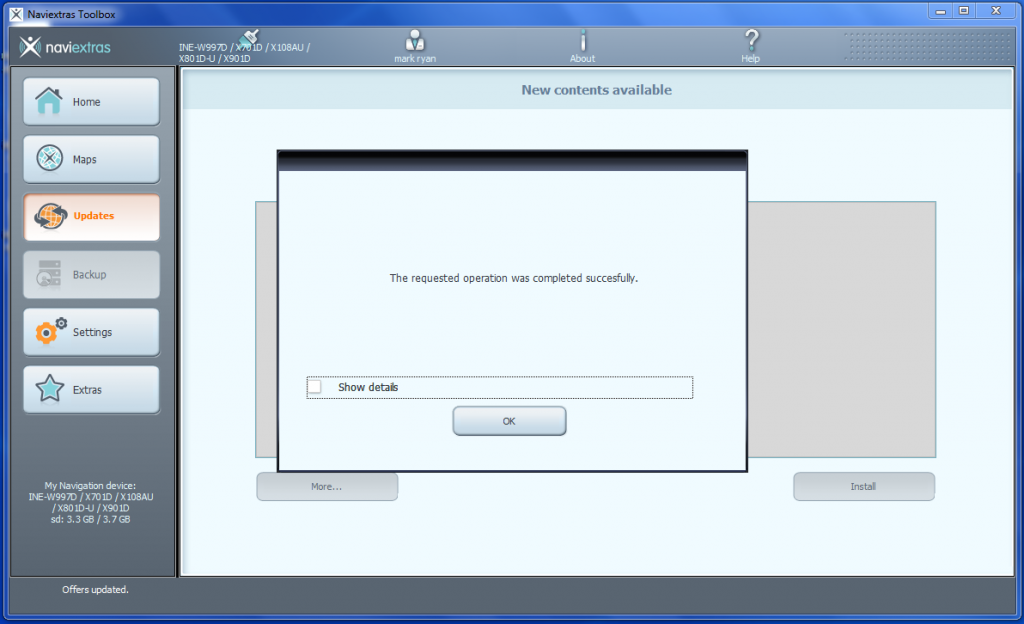
[3.4] Click the Updates tab located on the left-hand side of the Naviextras toolbox. It will display “You have a map update available”. Click on “Install”.
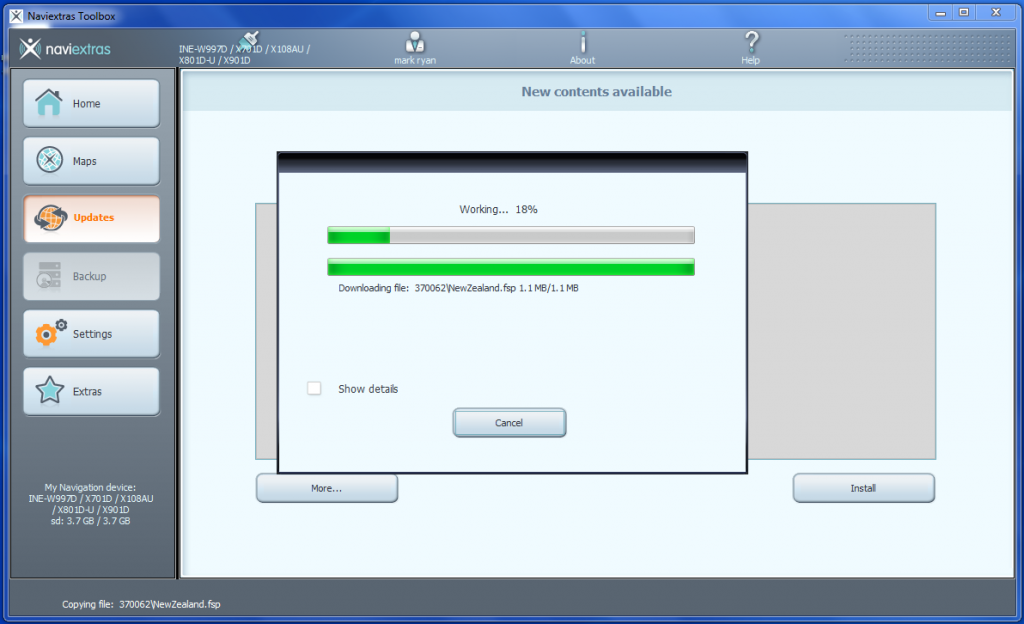
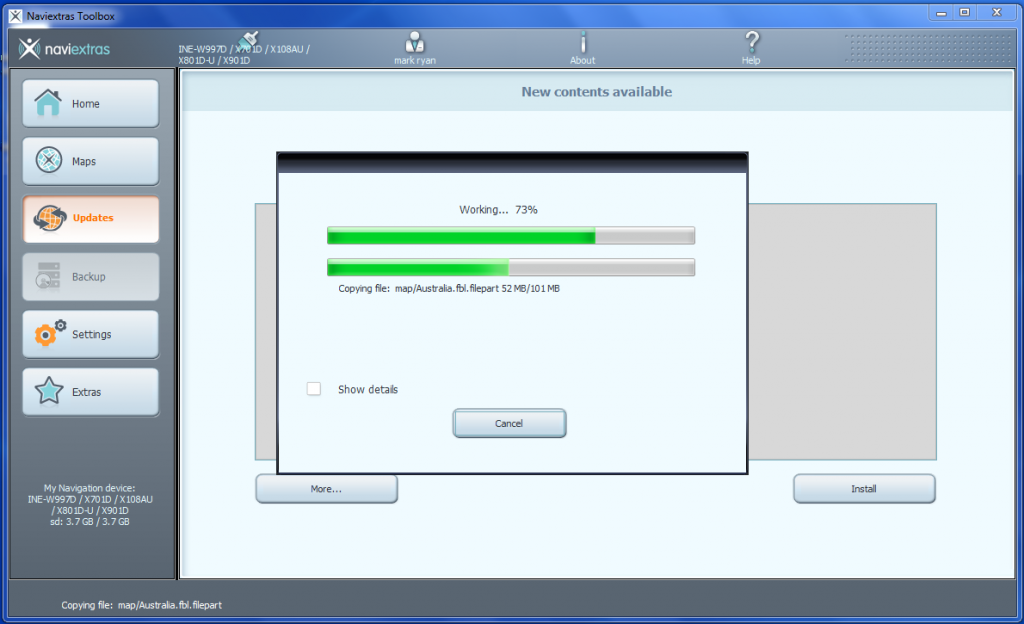
[3.5] Install progress will appear on the screen.
[3.6] Once it has finished downloading onto your USB stick, safely remove the USB stick from your PC.
4. Loading Map Update to Navi Station
[4.1] Power on the navigation system by turning on the ignition and insert the USB using the USB extension cable in your vehicle.
[4.2] Like in the ‘Collect Info’ step, go to the Navigation Menu (when on navigation, swipe from the right side of the screen to the left side of the screen) > Settings (Spanner top right-hand corner) > Then tap “Update”. The ‘Update’ button will only be selectable if a USB stick is connected.
[4.3] Synctool will start up. Initialization screen may take up to a minute or so, this is normal.
[4.4] Confirm that you want to perform the update with “YES”. This process should take around 3 minutes, however it may take longer depending on the size of the update, as every update has different amounts of content. Do not disconnect the USB Stick or turn the vehicle off during this step.
[4.5] Once finished, you will receive a message saying “Content update successful.”. You may now remove the USB Stick, and tap OK. The navigation system will restart automatically.
