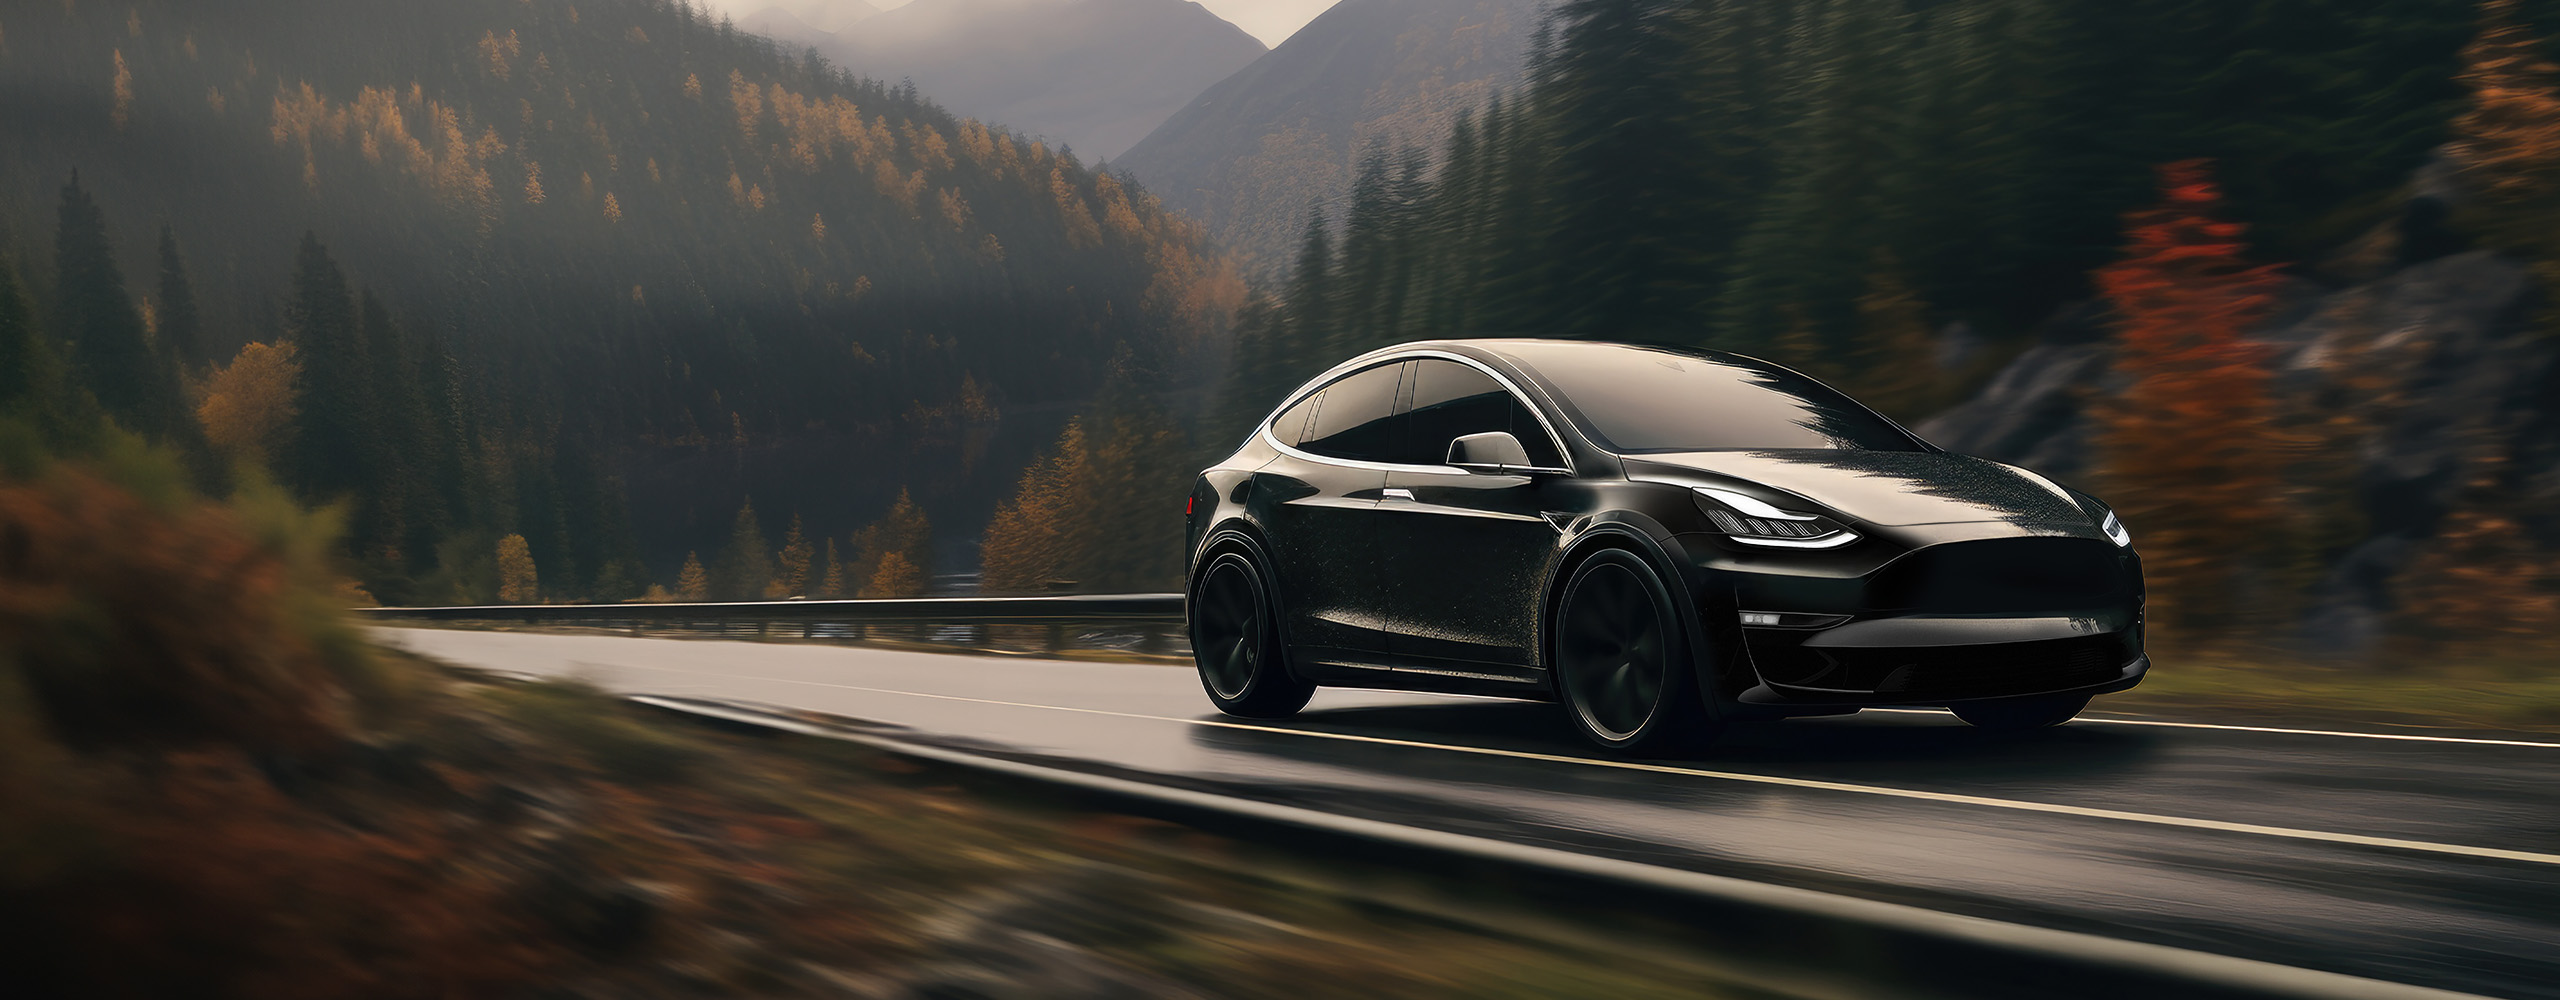
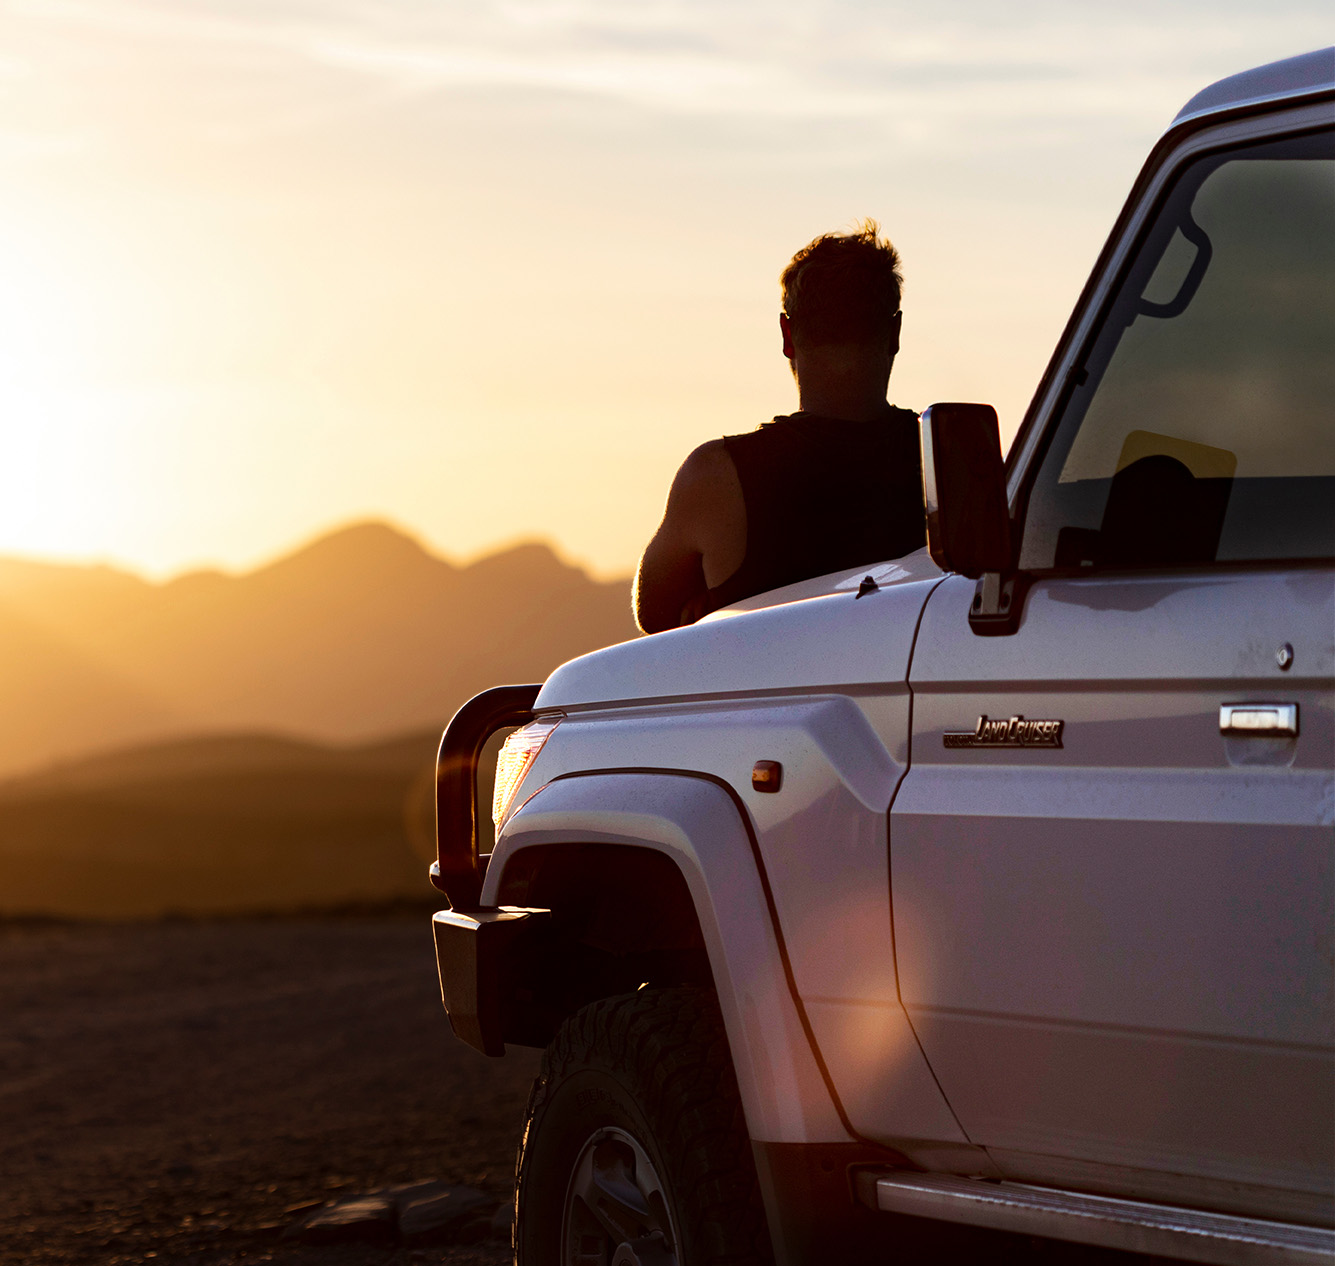
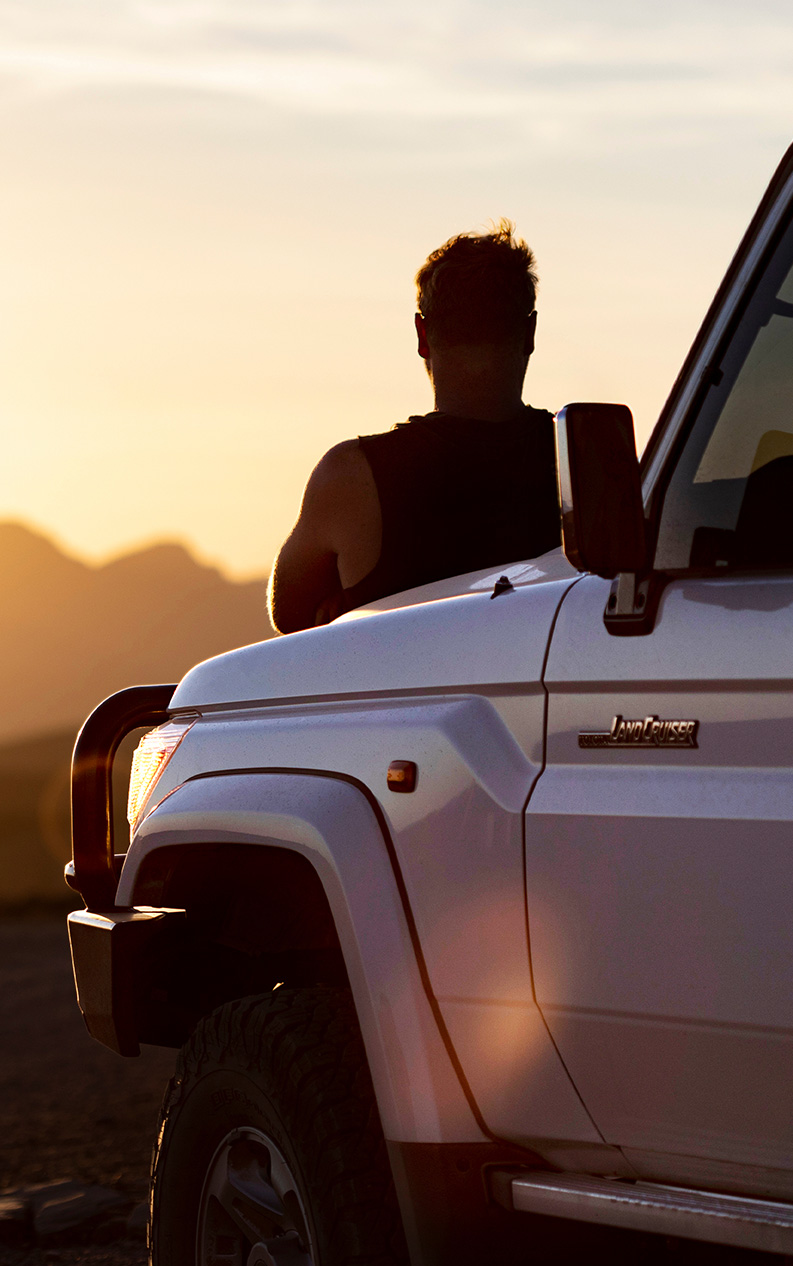
Explore the passion and dedication behind enhancing your drive.
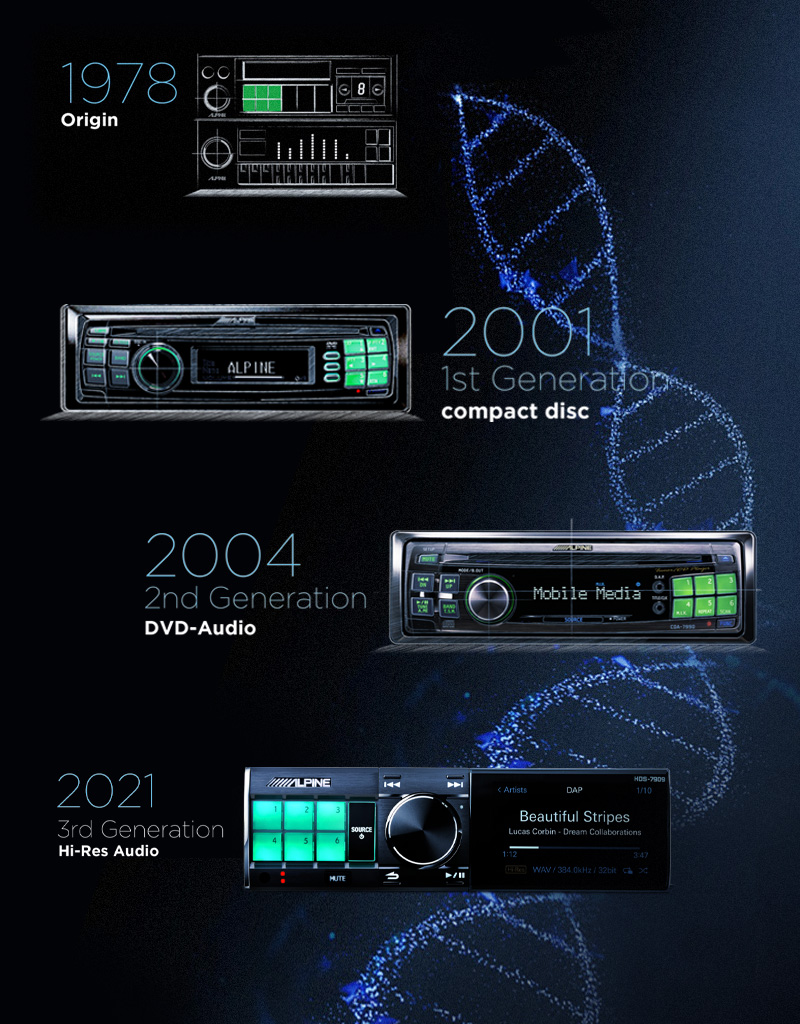
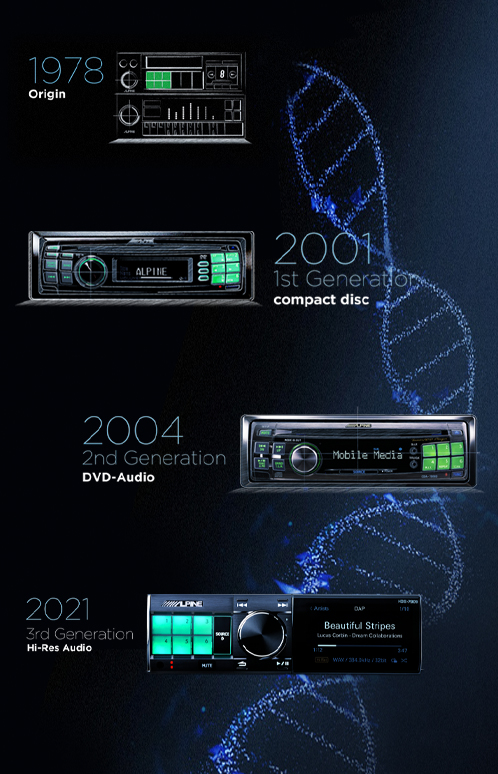
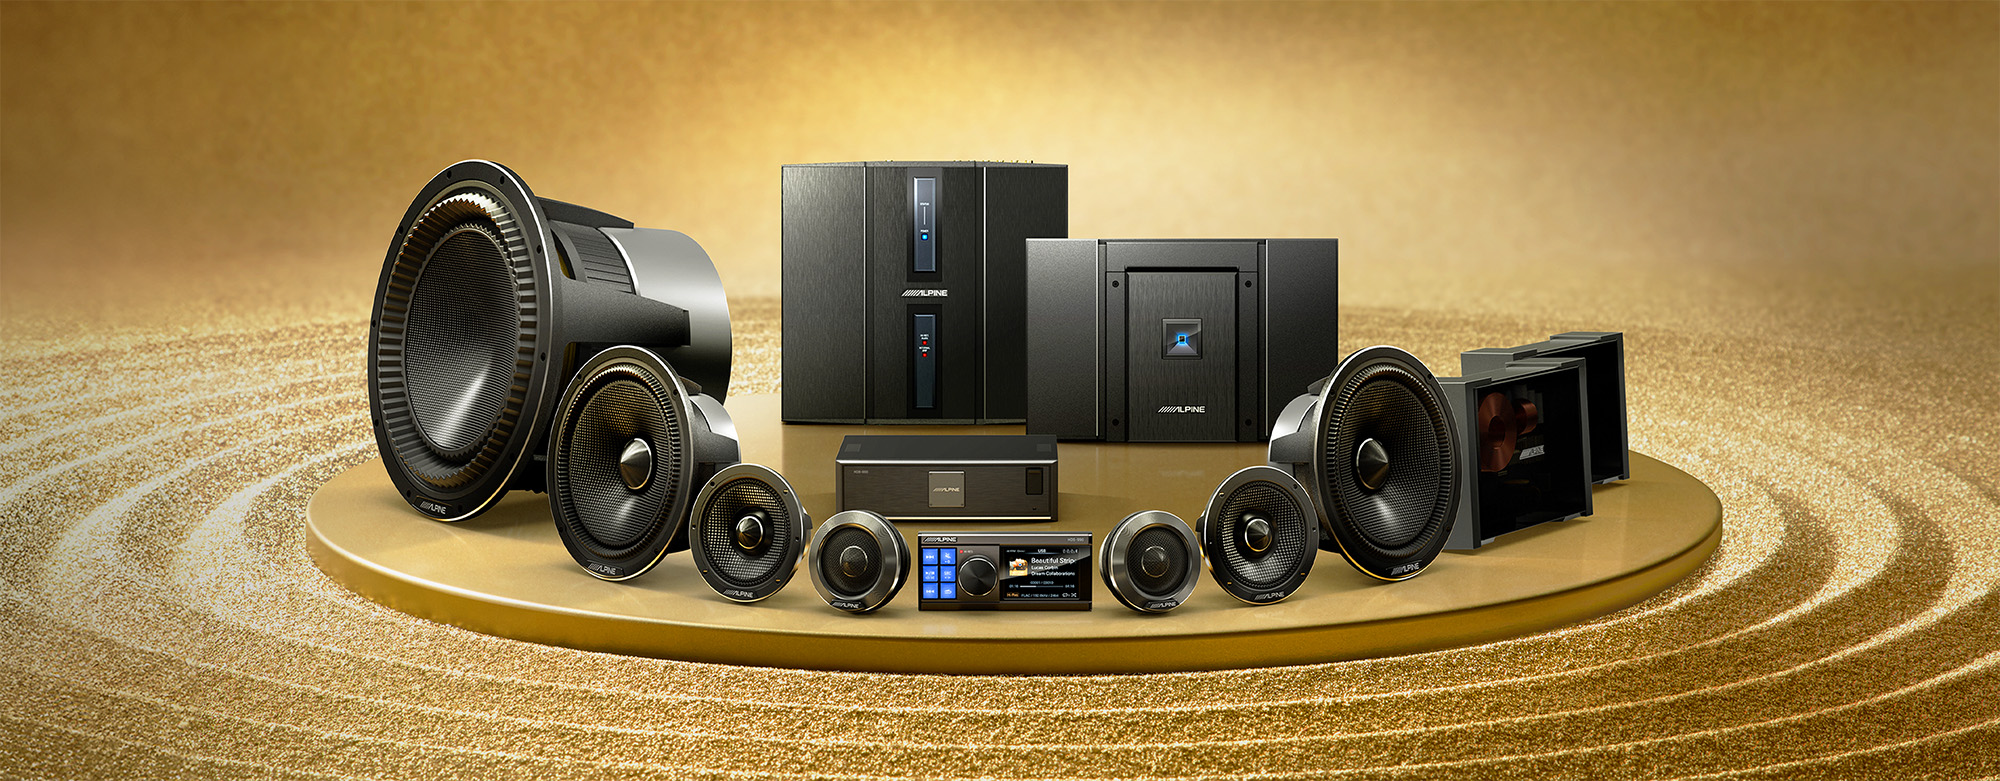
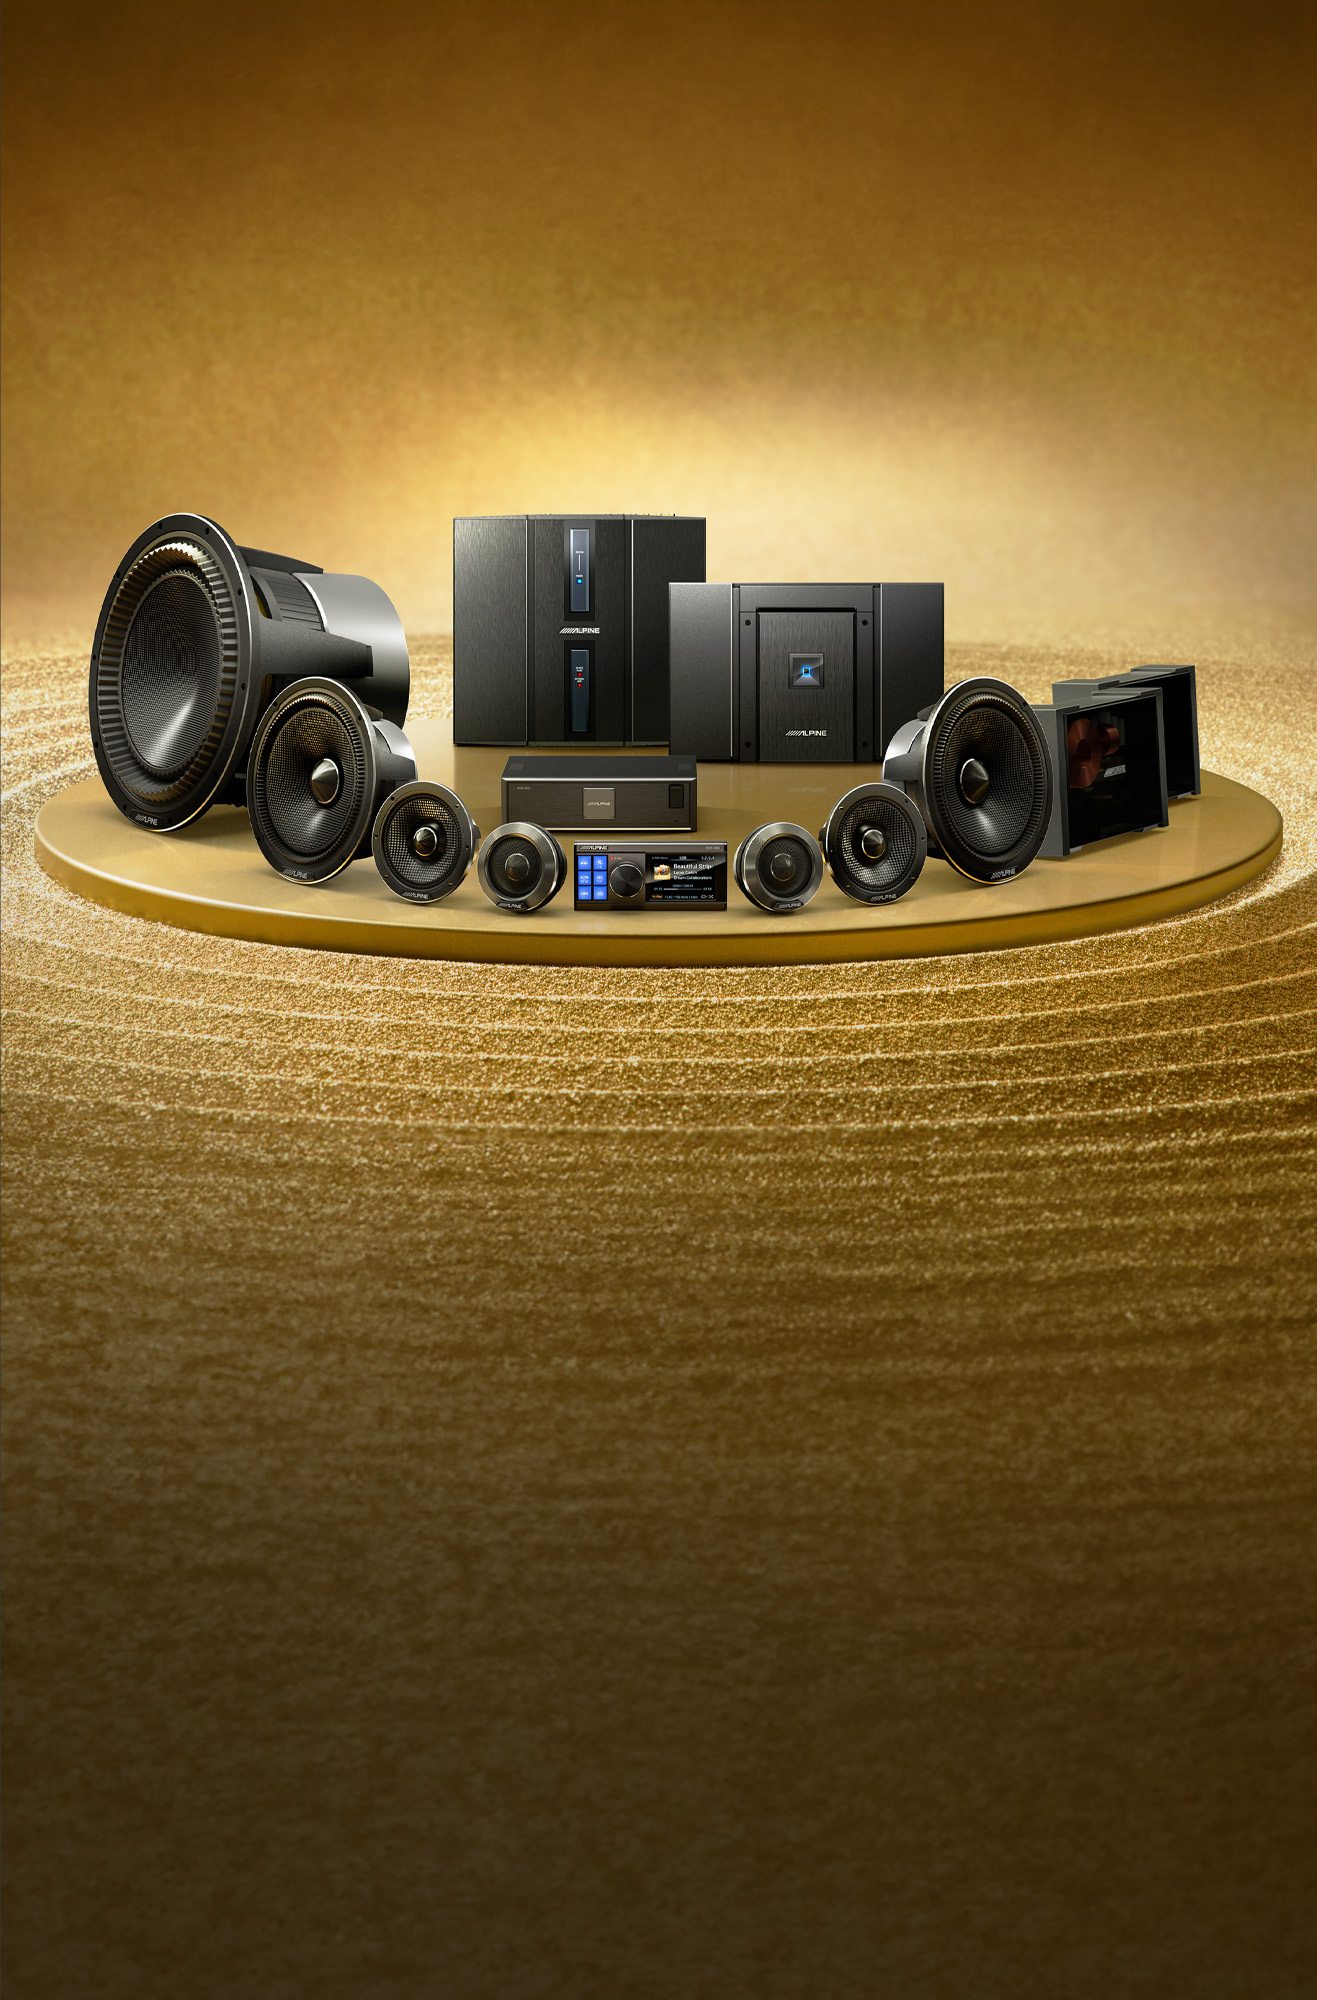
With a legacy of over 50 years delivering sound experience to the mobile electronics industry, Alpine continues to deliver products that meet and exceed the needs of our community.
With a legacy of over 50 years delivering sound experience to the mobile electronics industry, Alpine continues to deliver products that meet and exceed the needs of our community.

Find your nearest Alpine dealer - simply enter your suburb, postcode or use your current location.
Making the roads safer, the drive easier and the air cleaner.
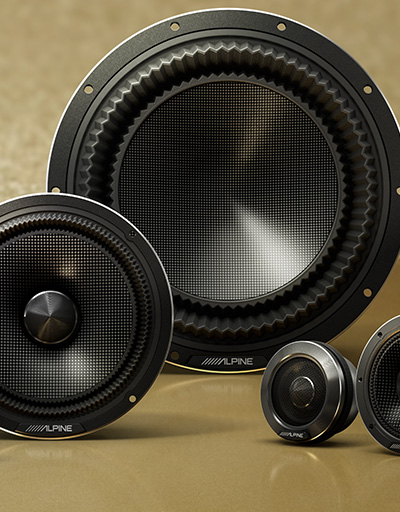
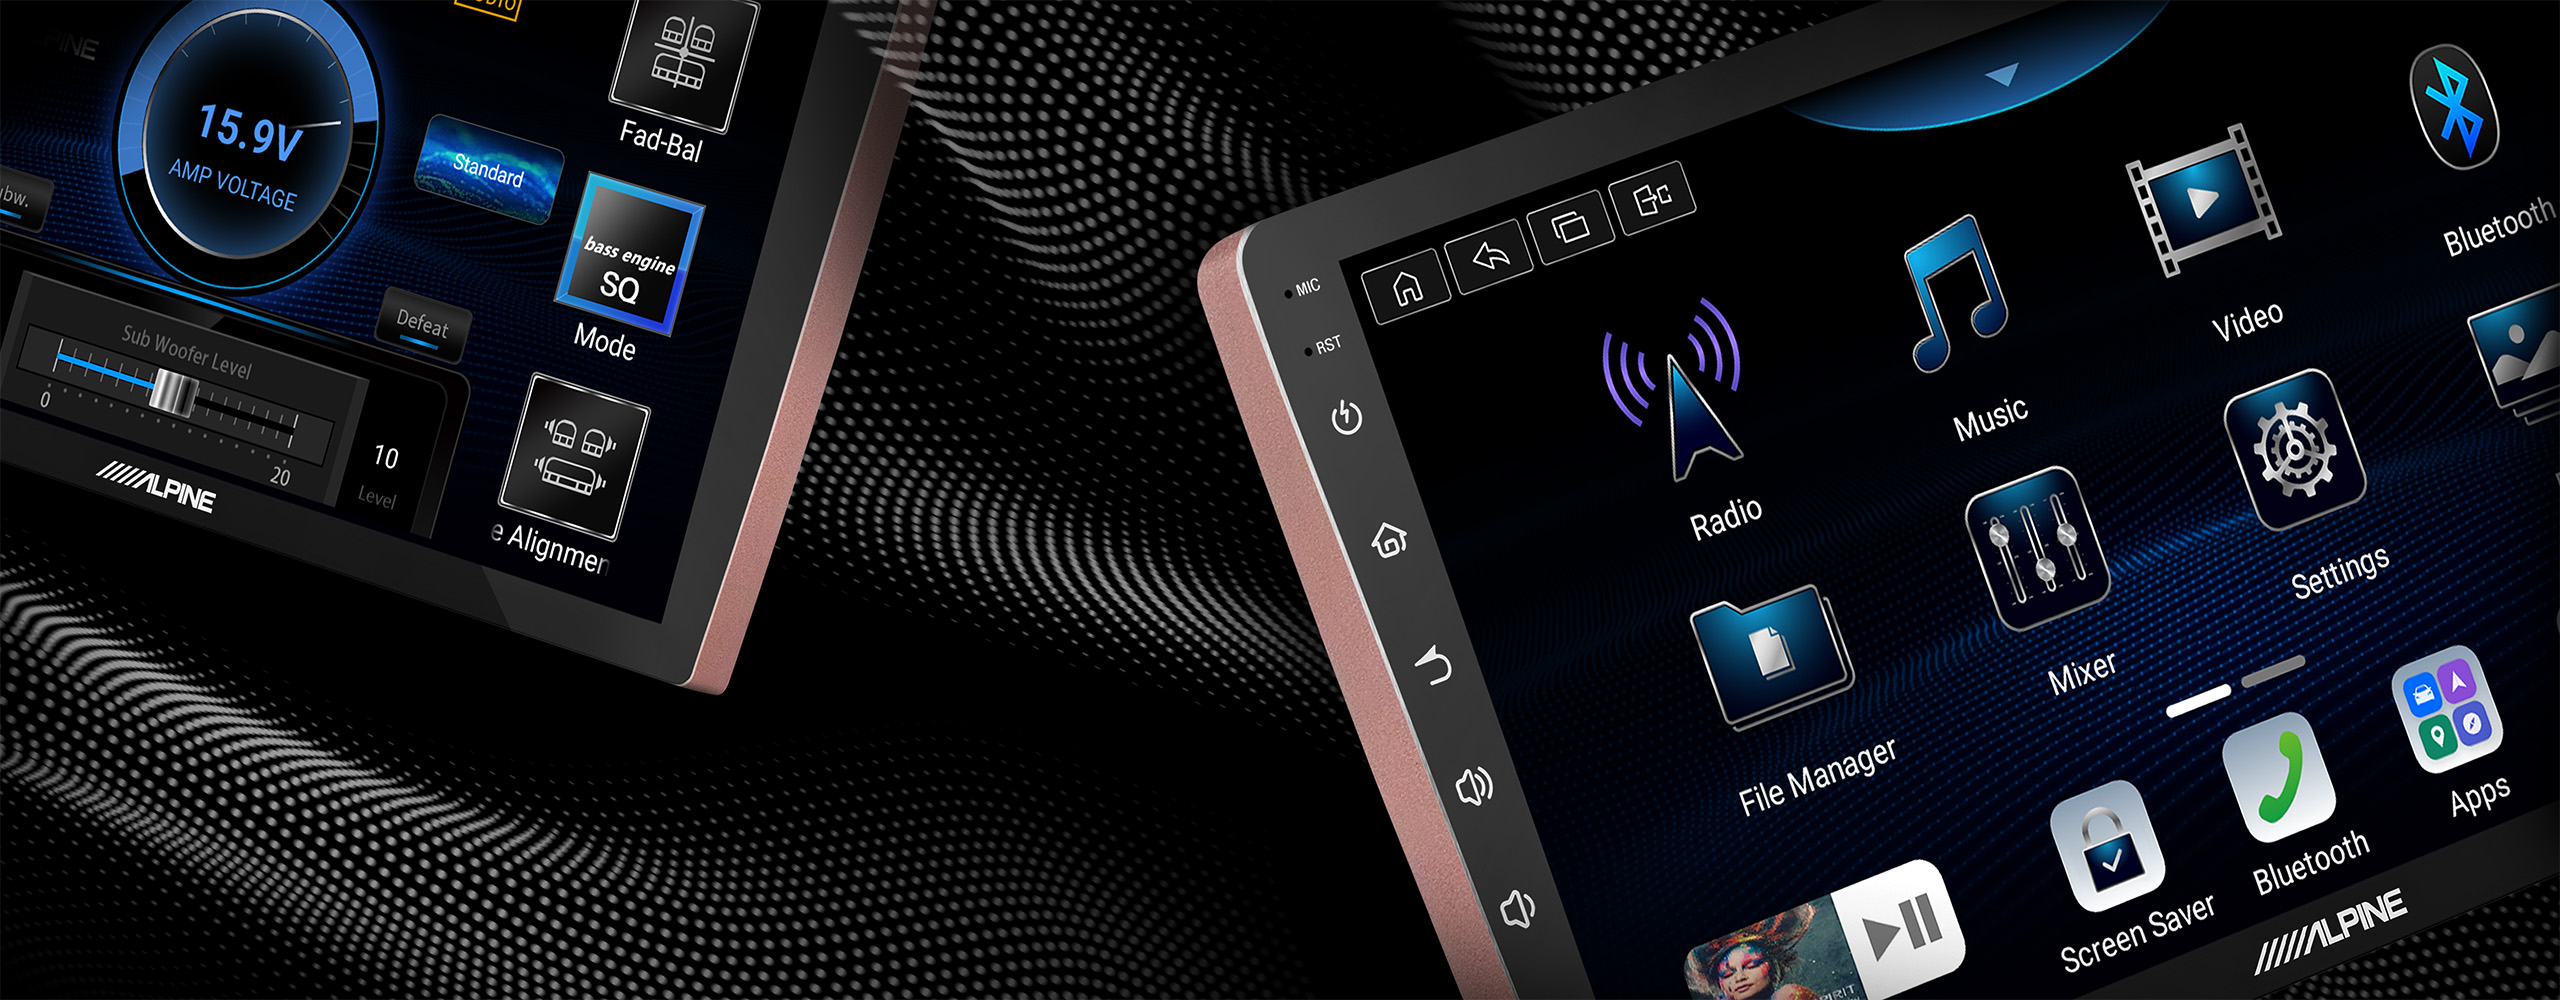
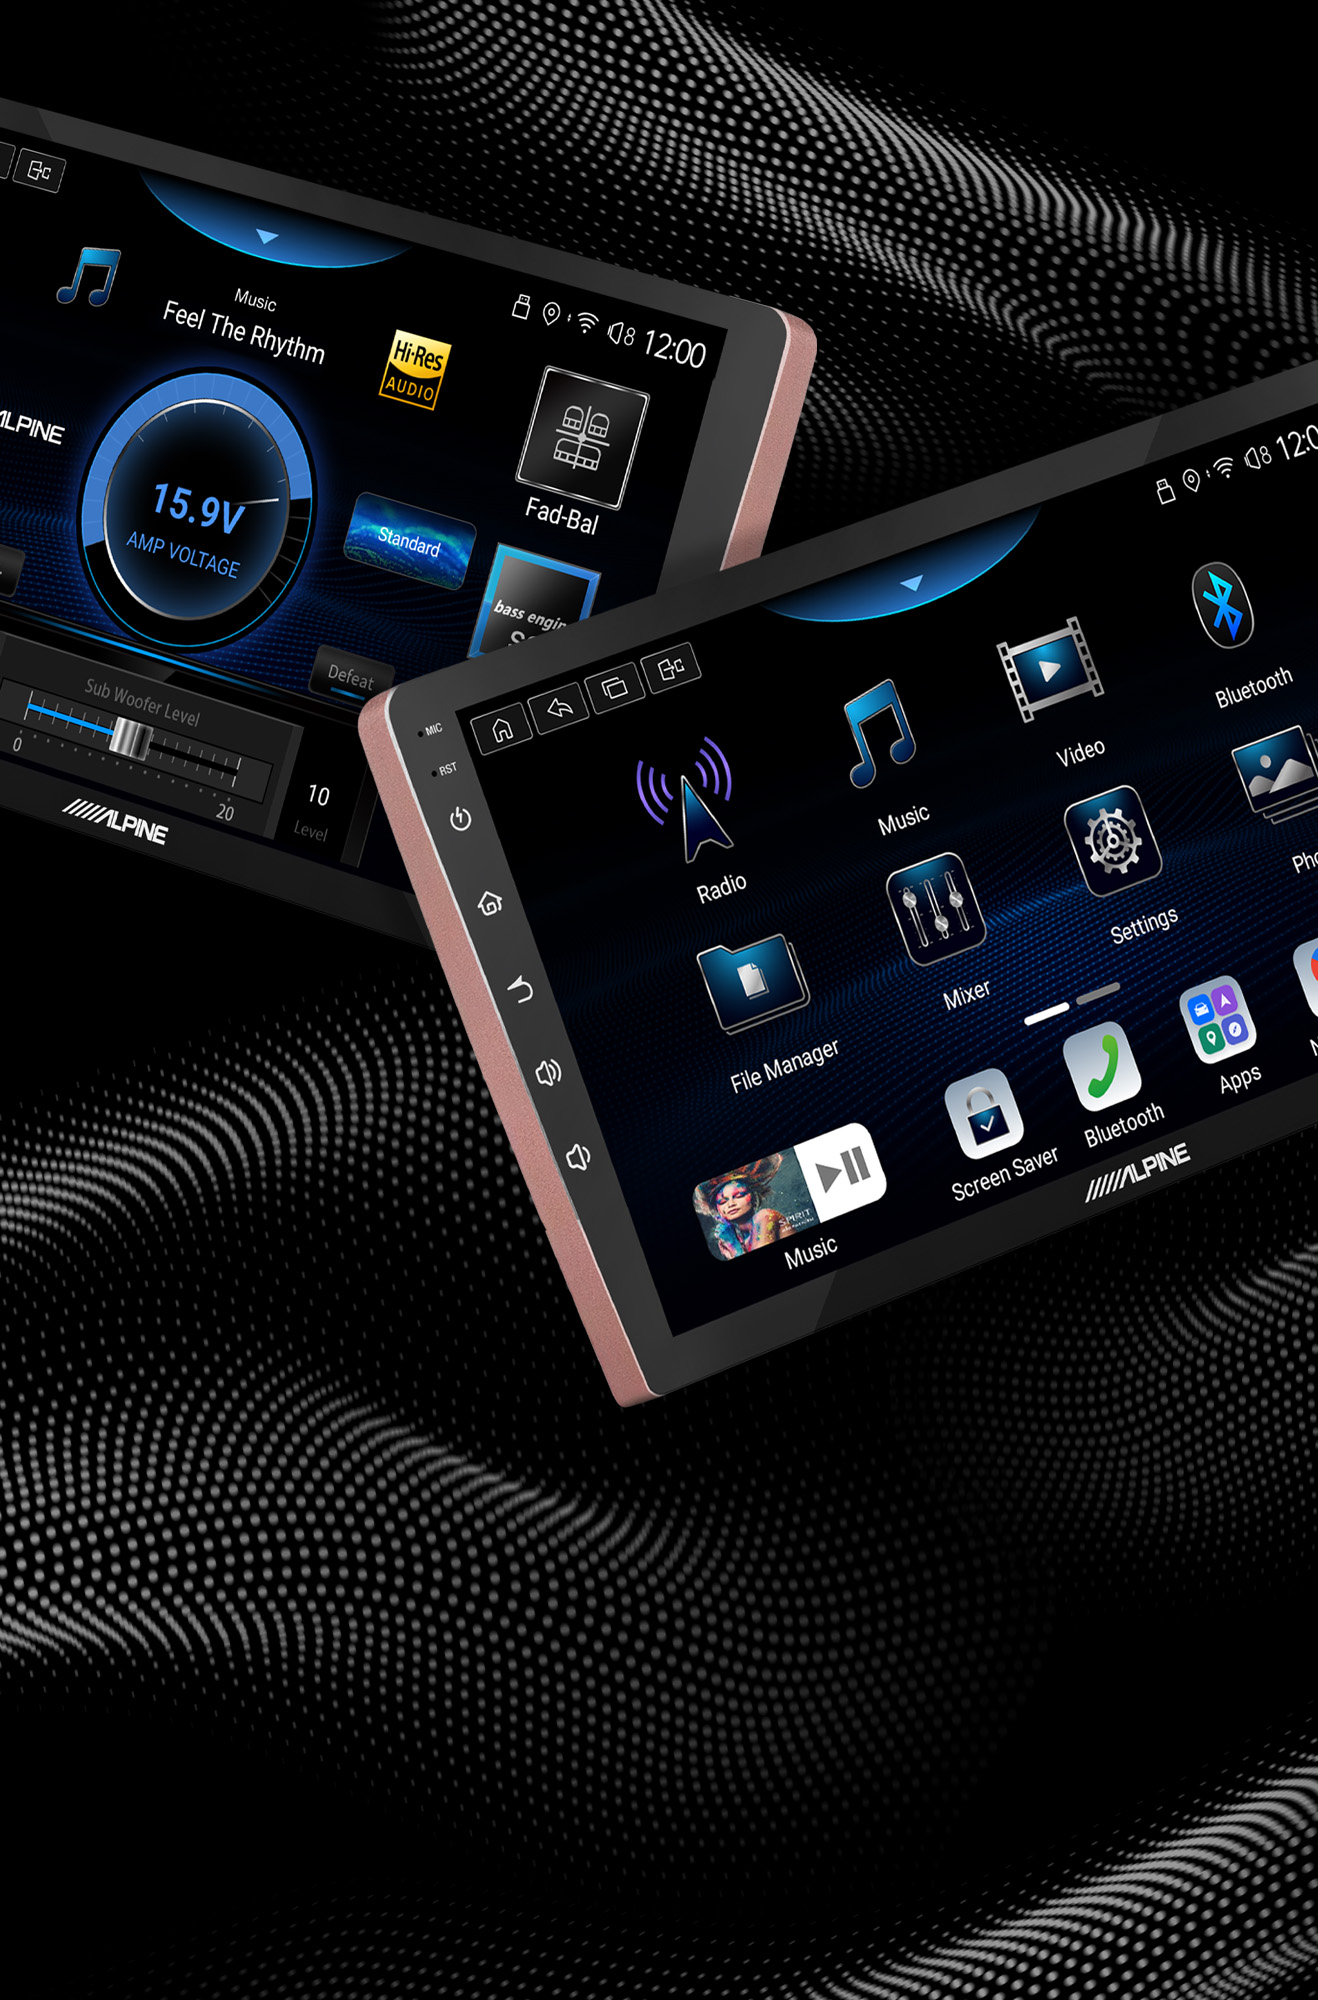
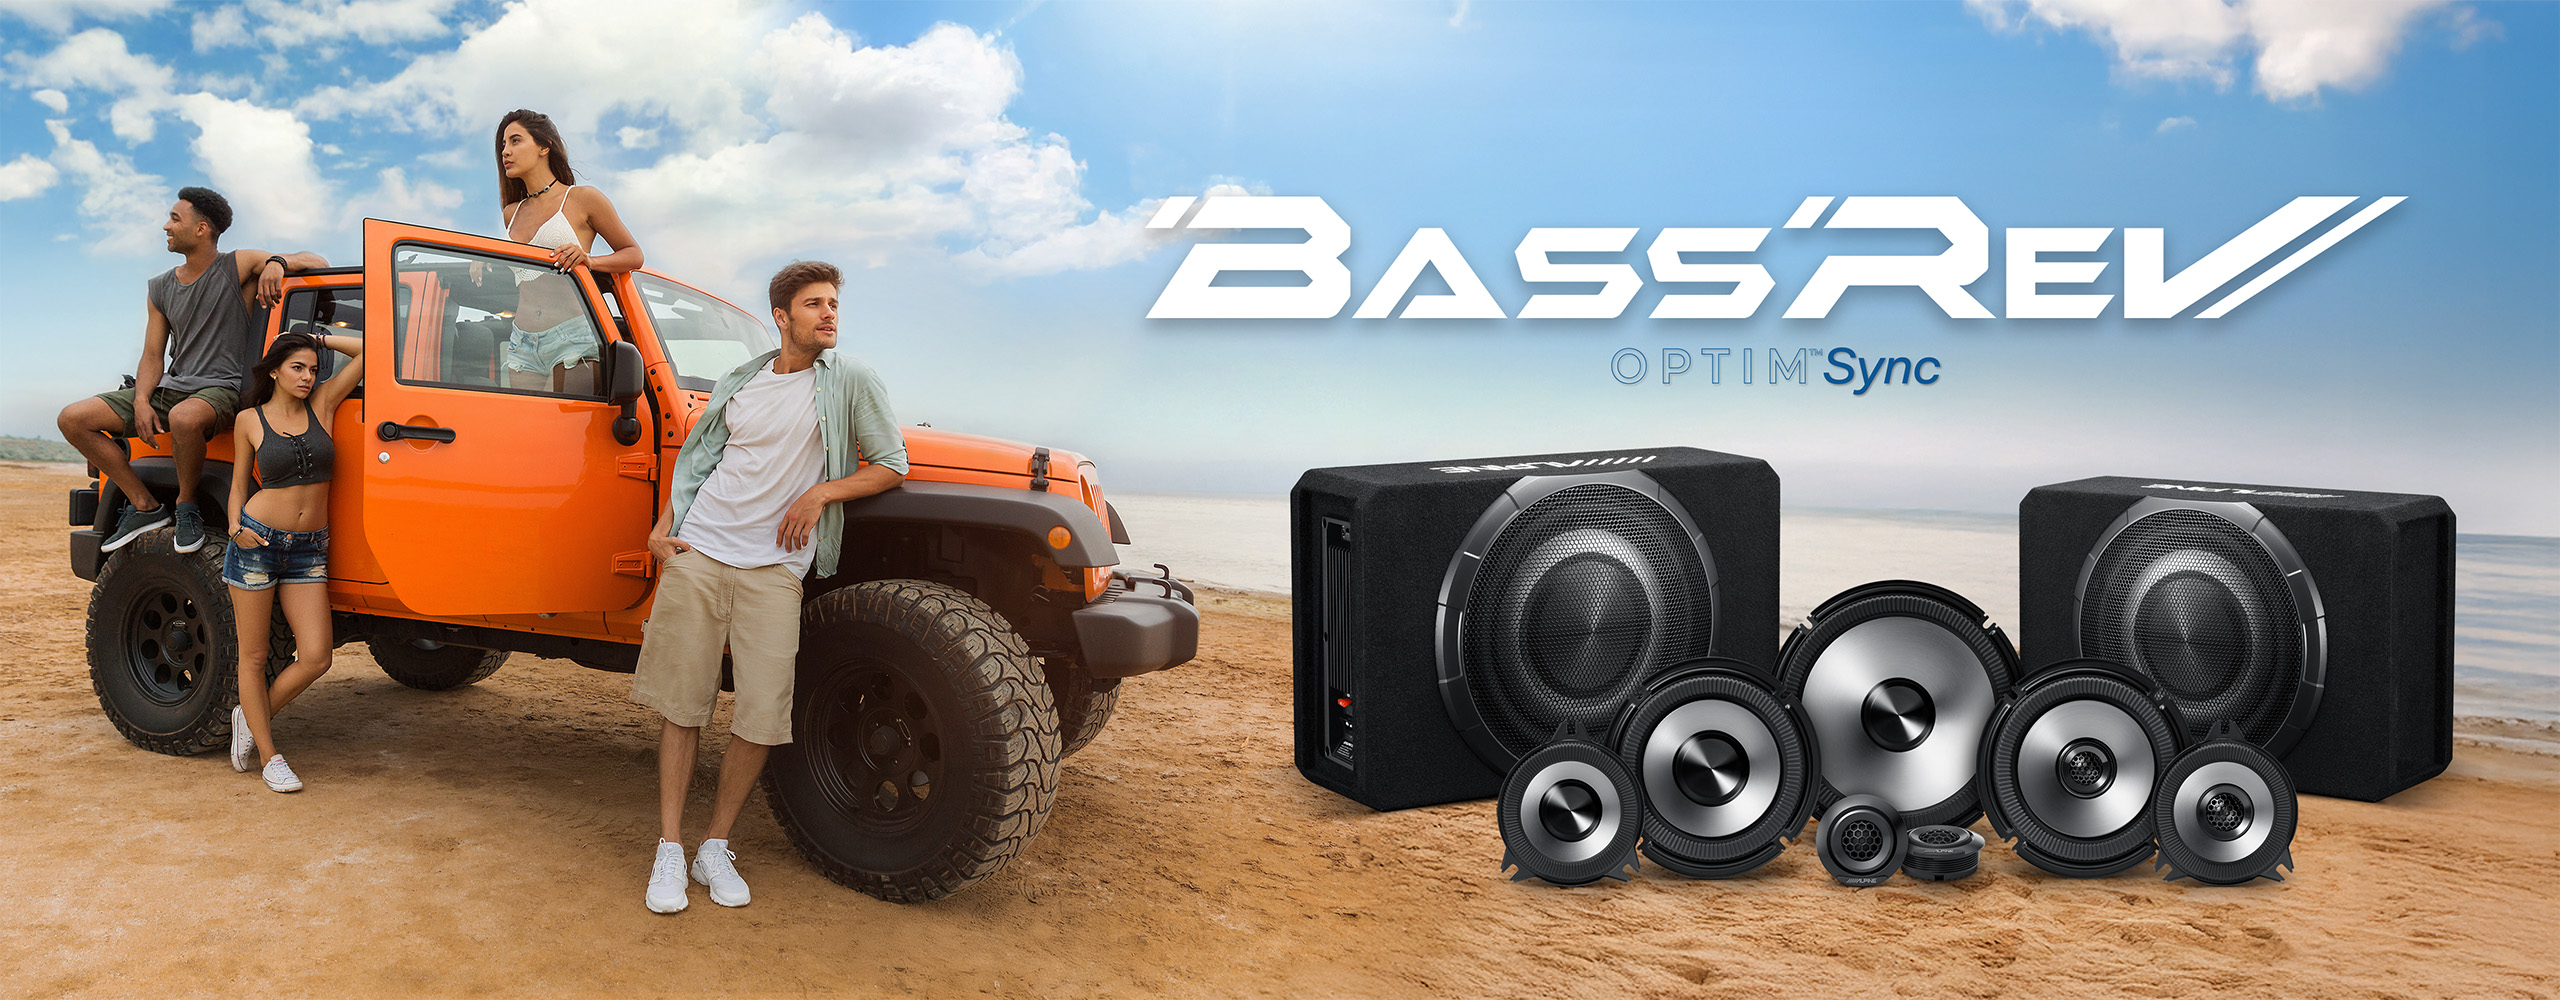
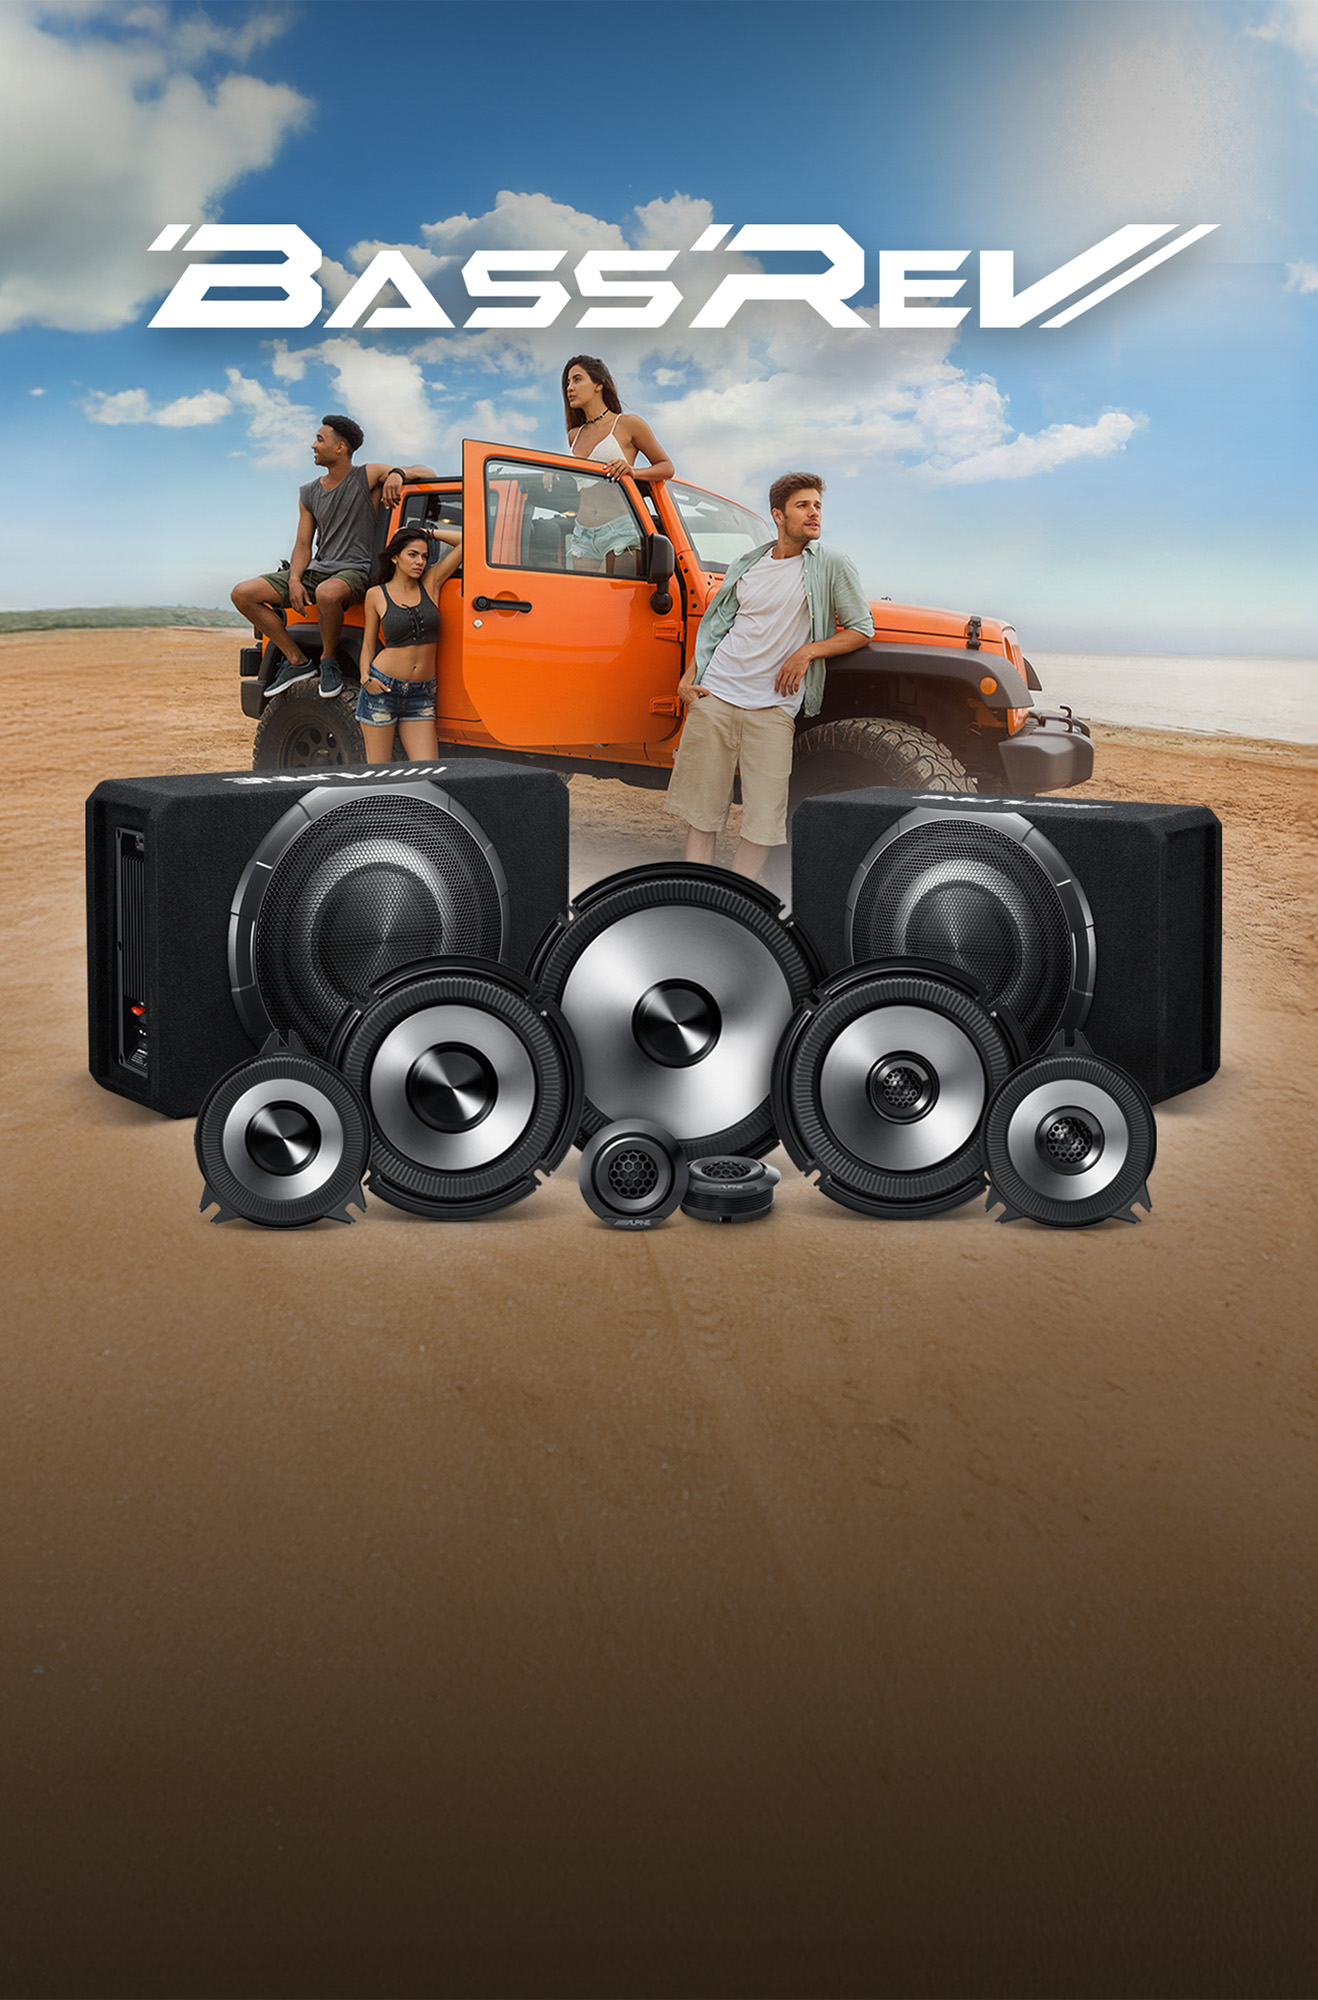
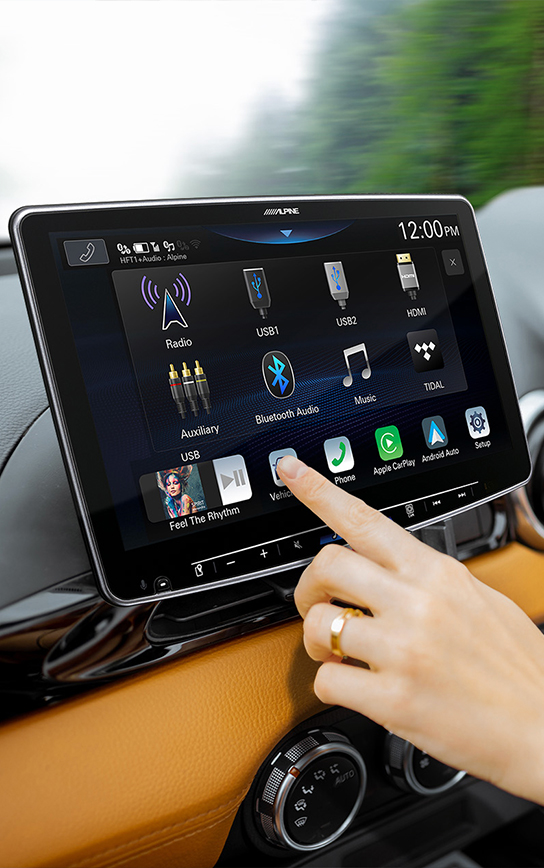
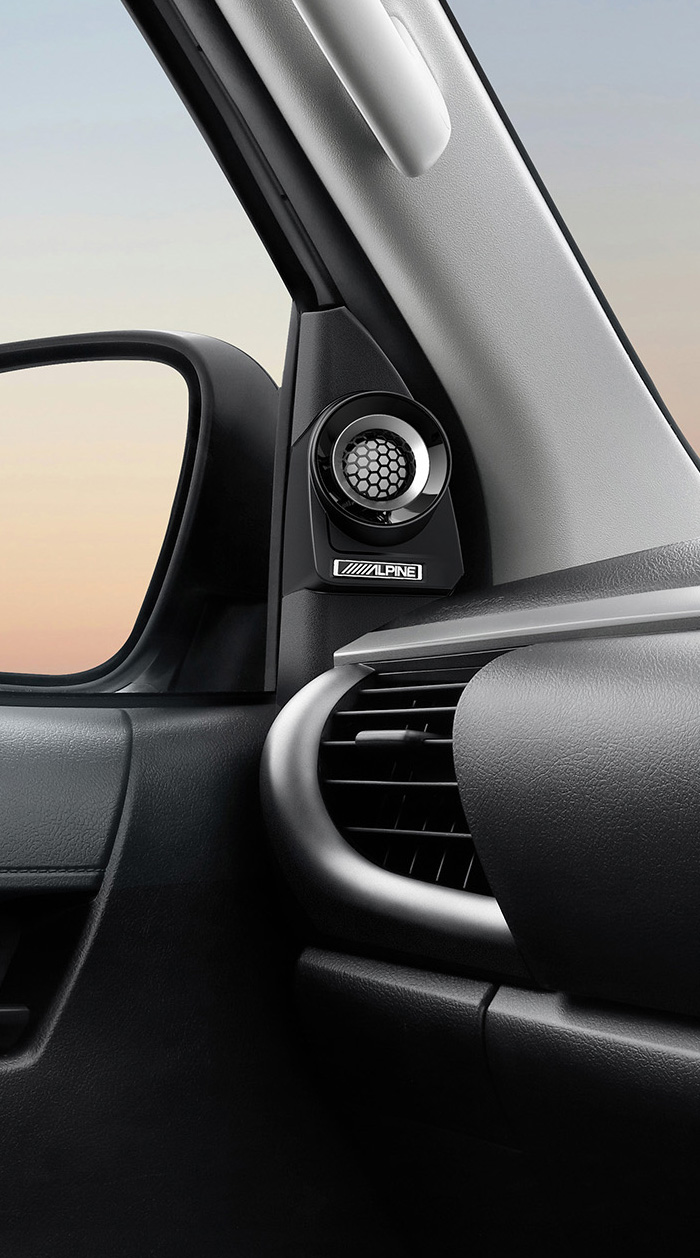
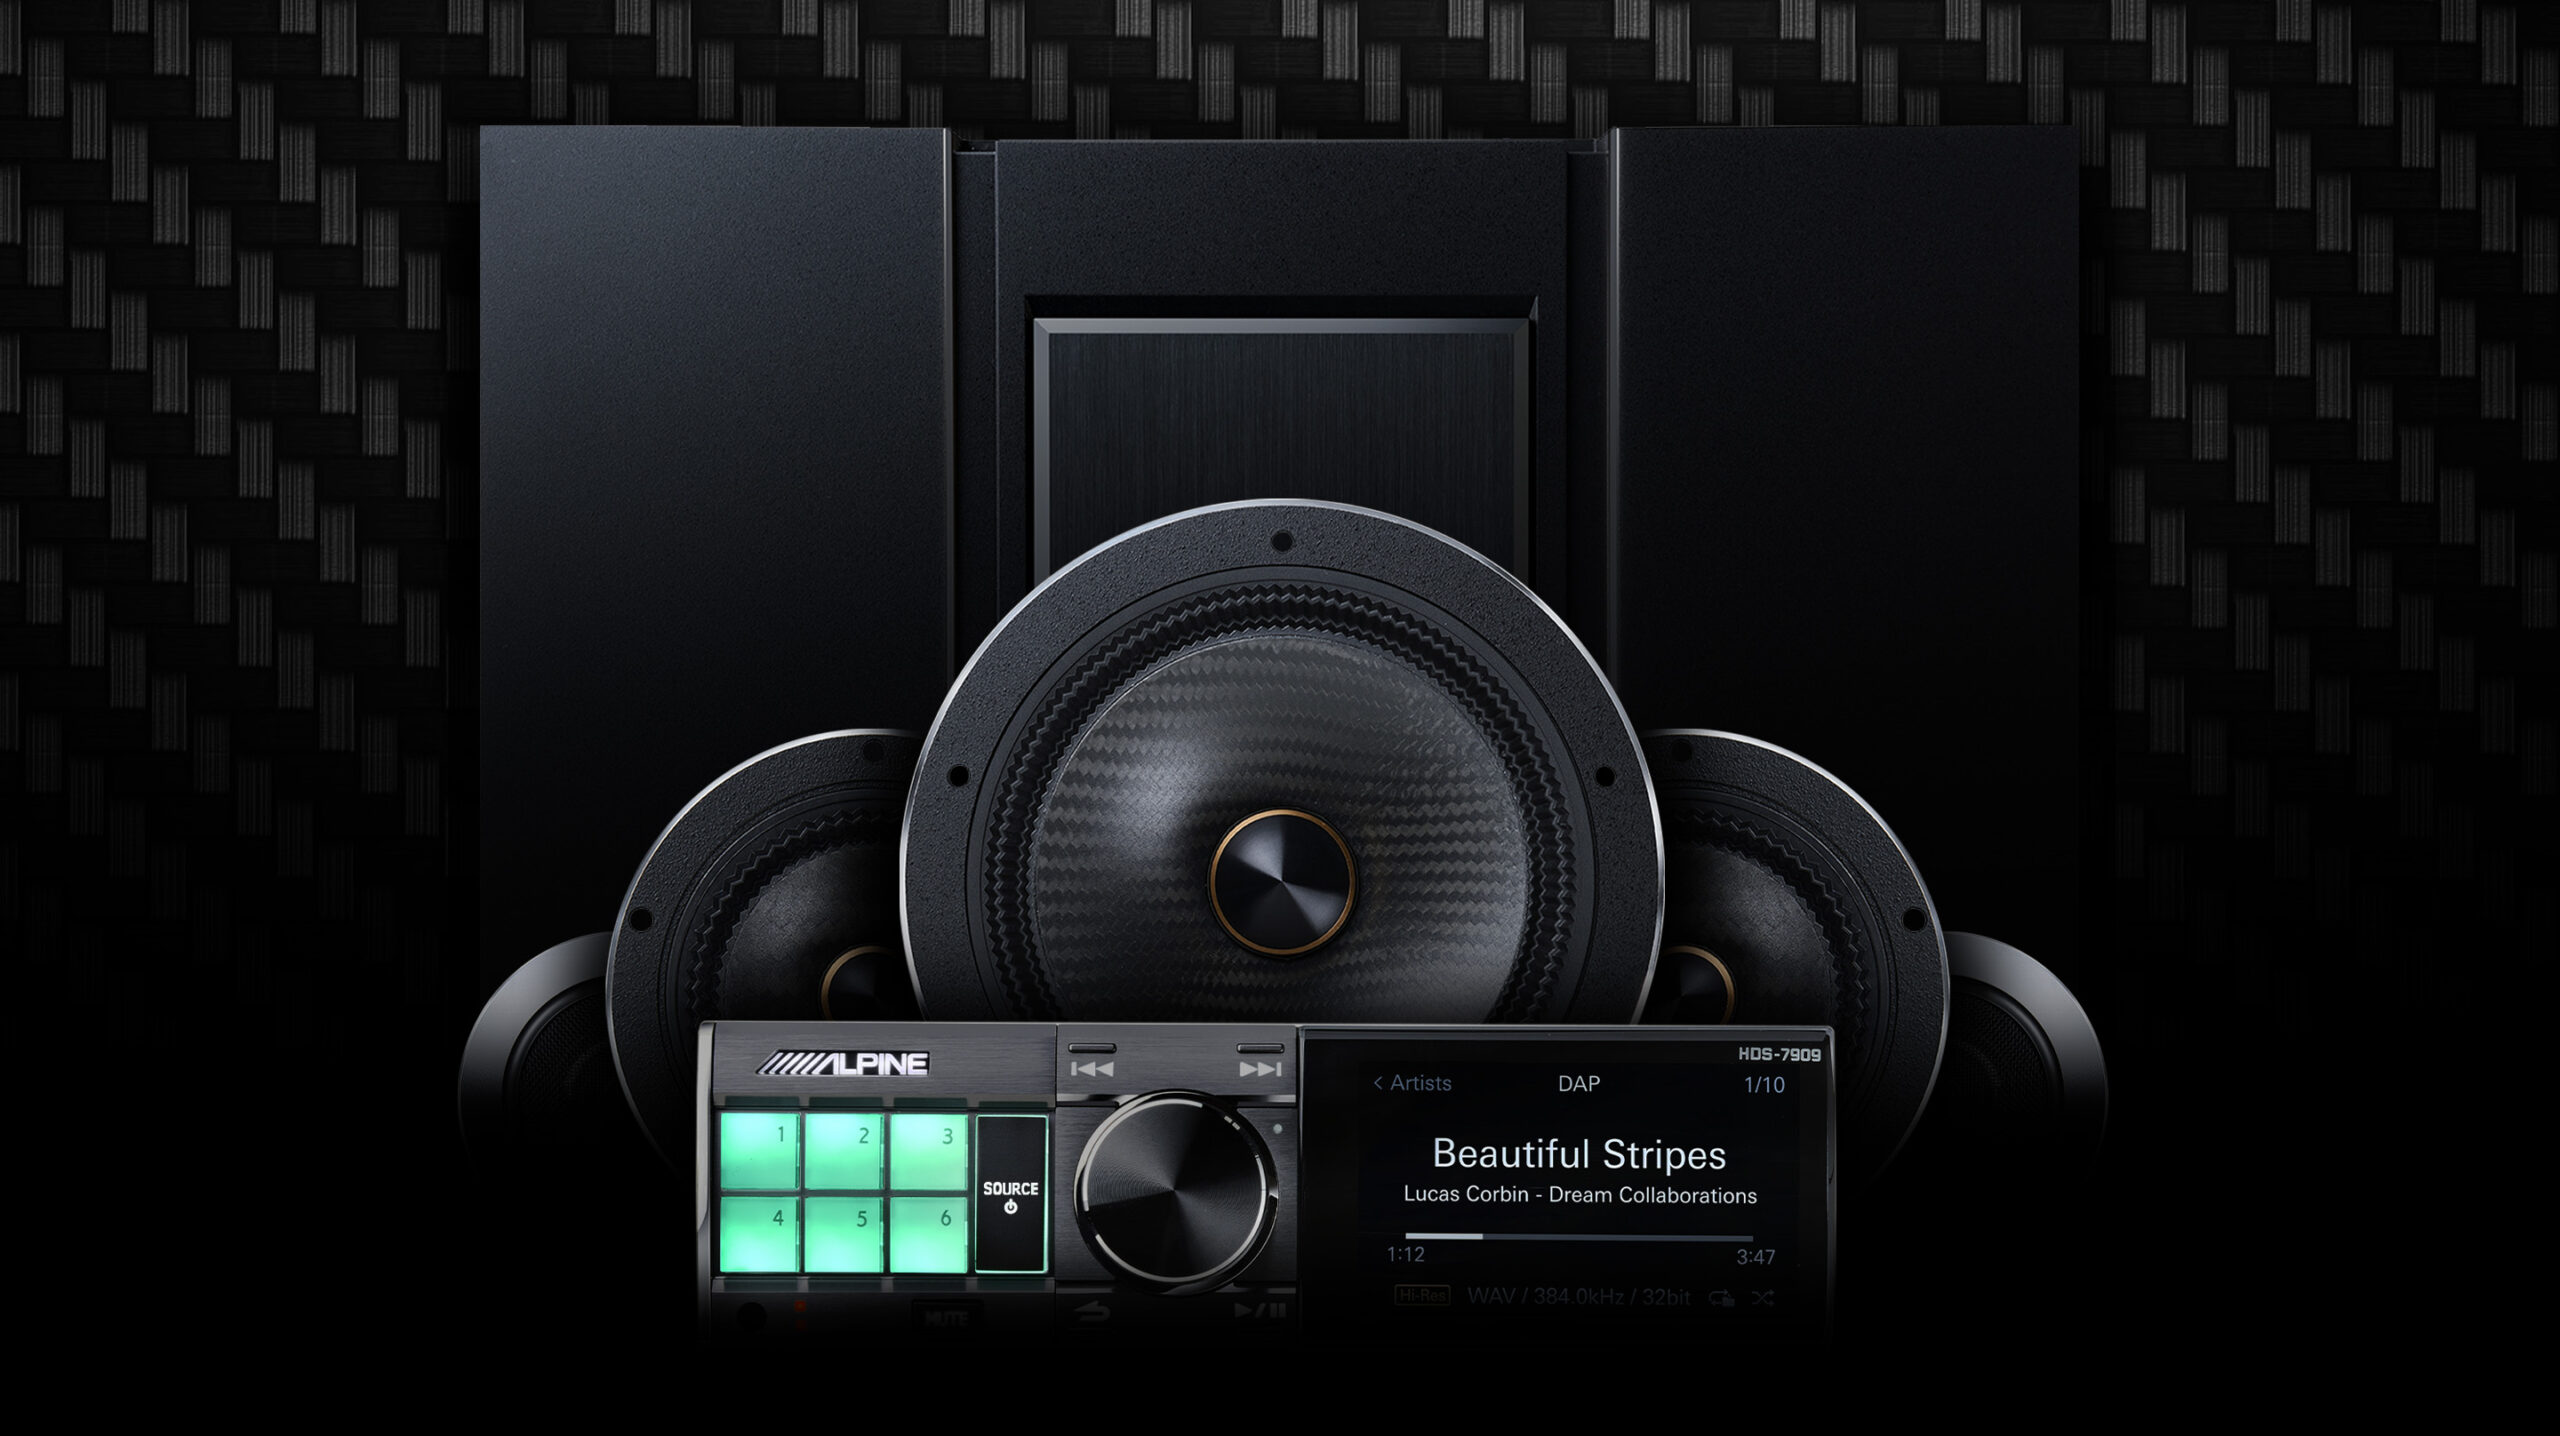
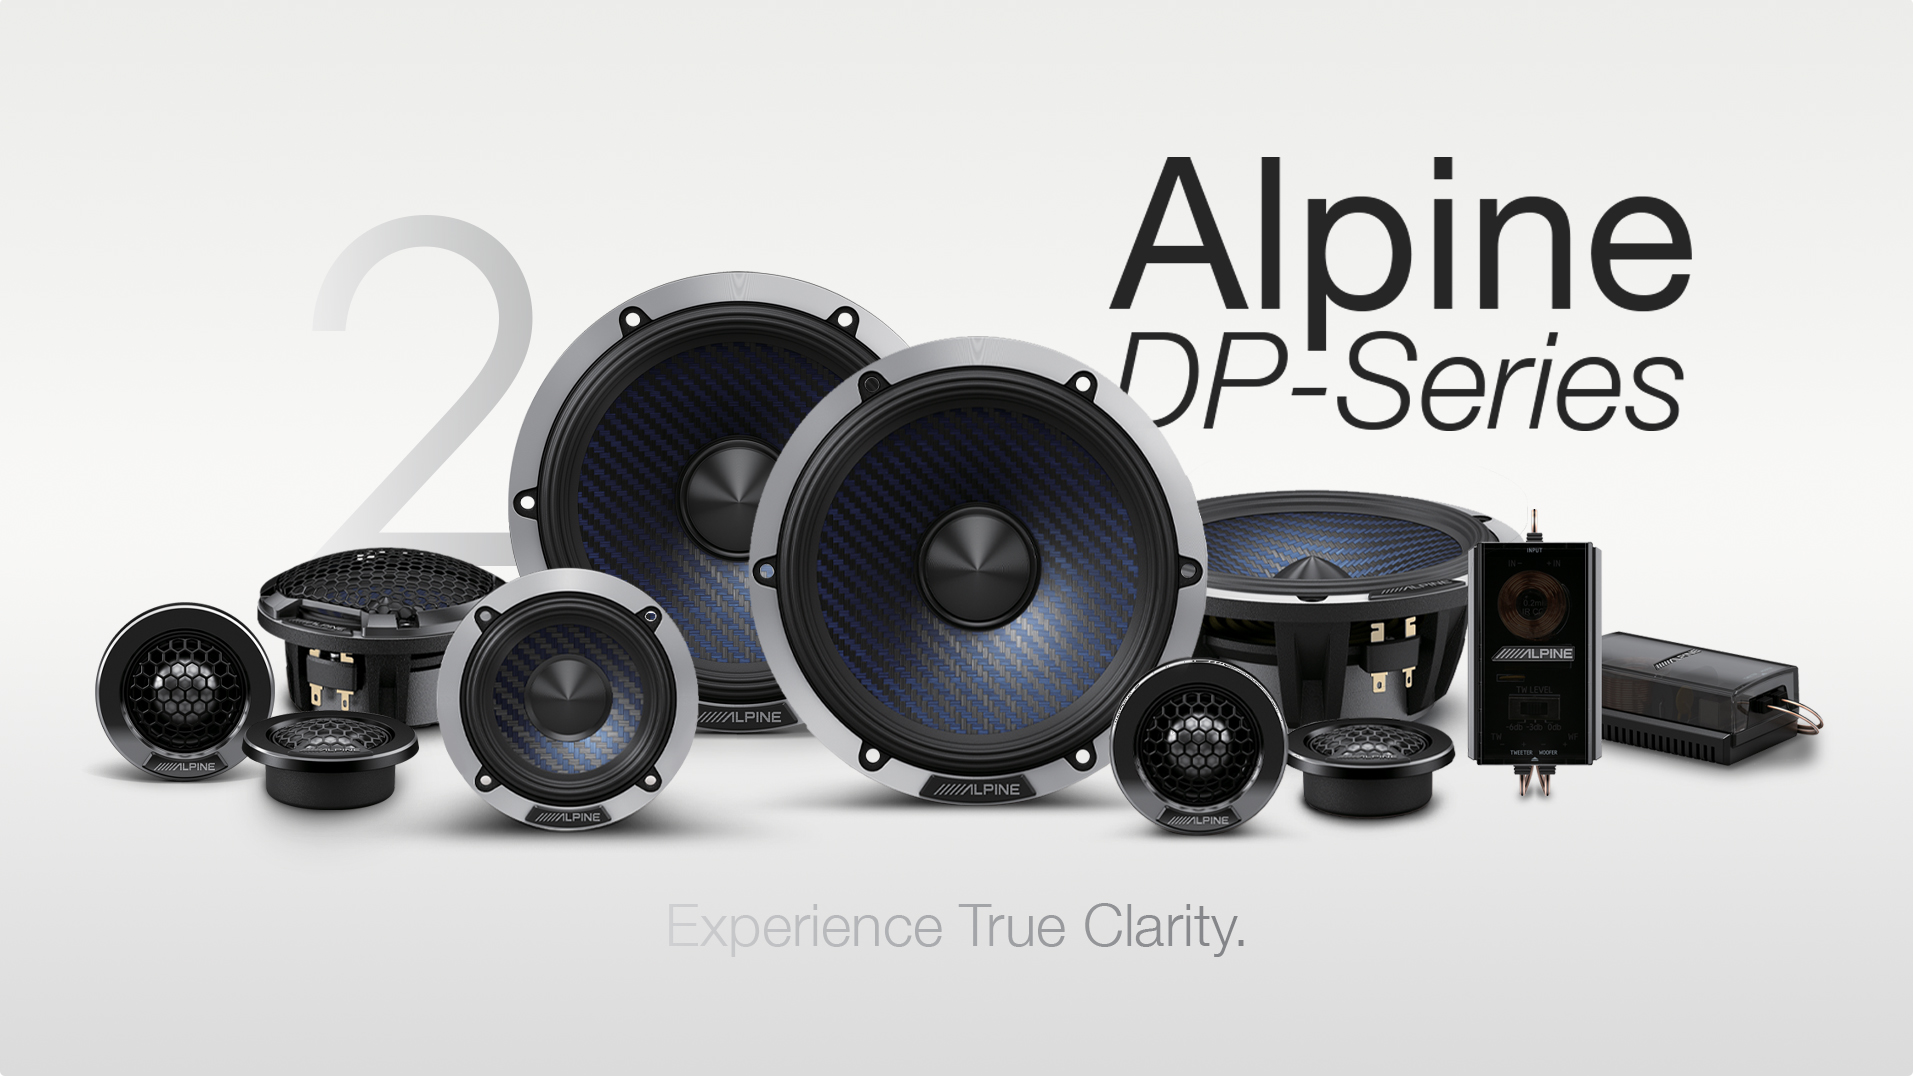
So you don’t just hear every detail. You feel the emotion.
Explore the passion and dedication behind enhancing your drive.
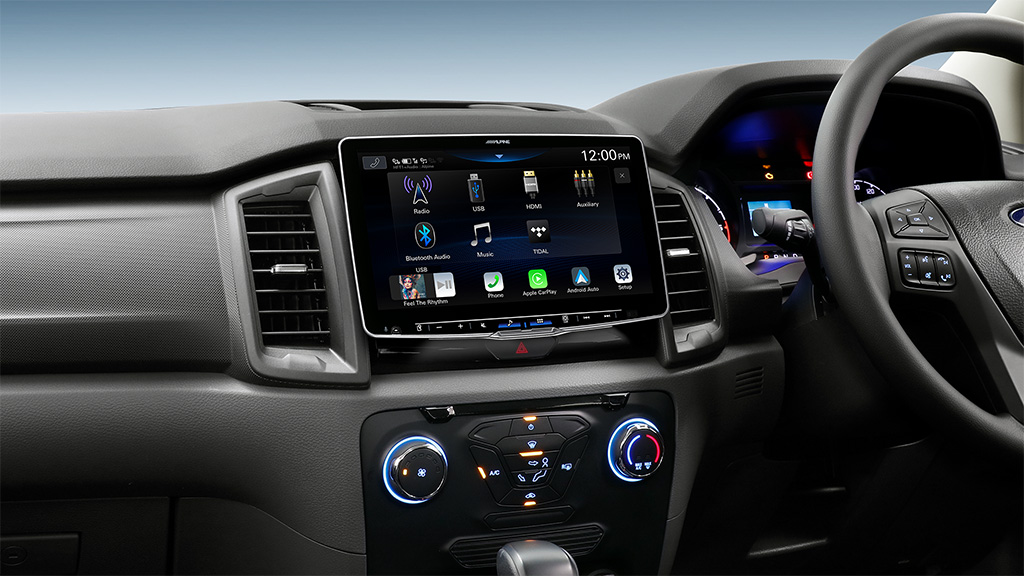
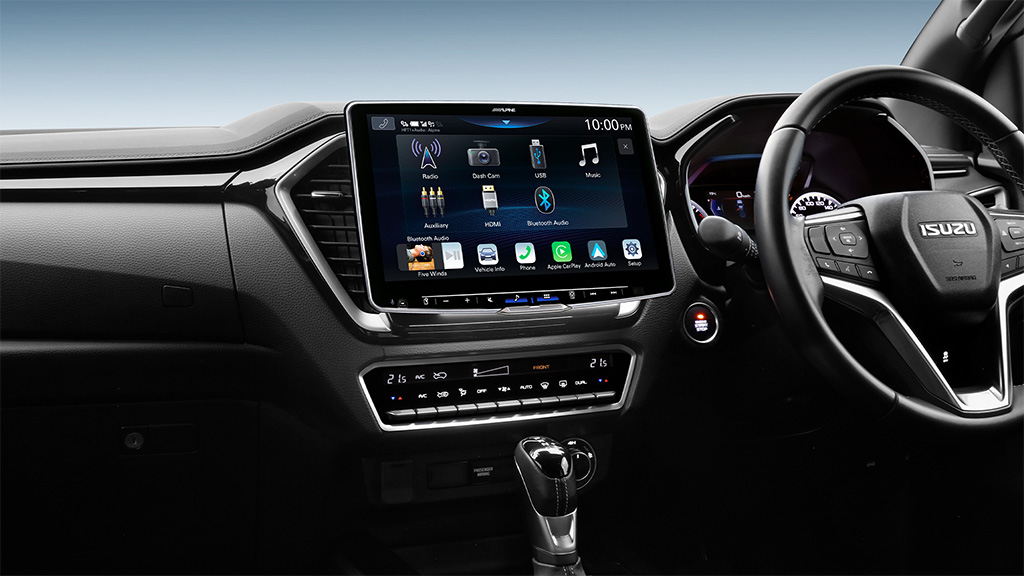
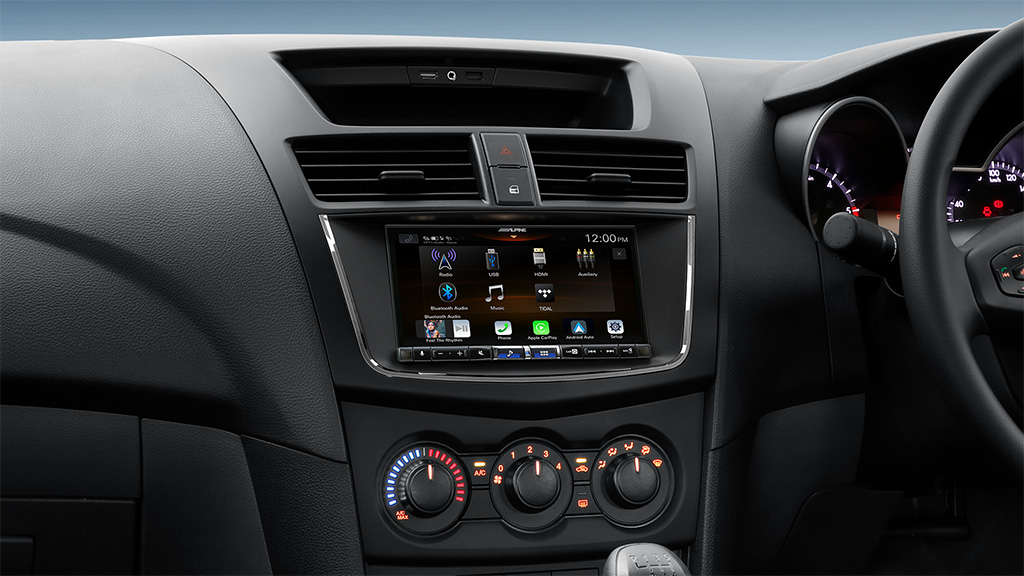
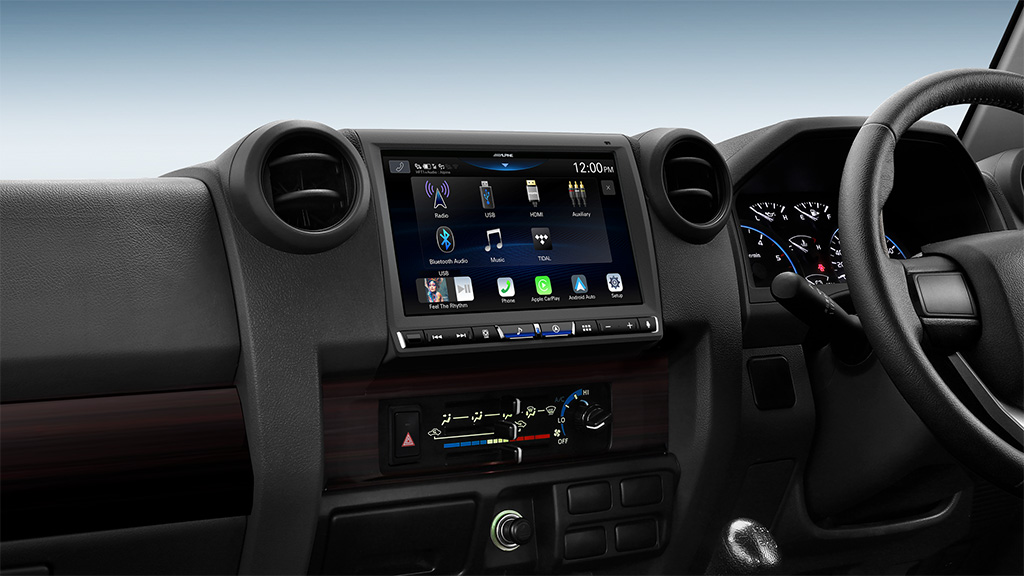
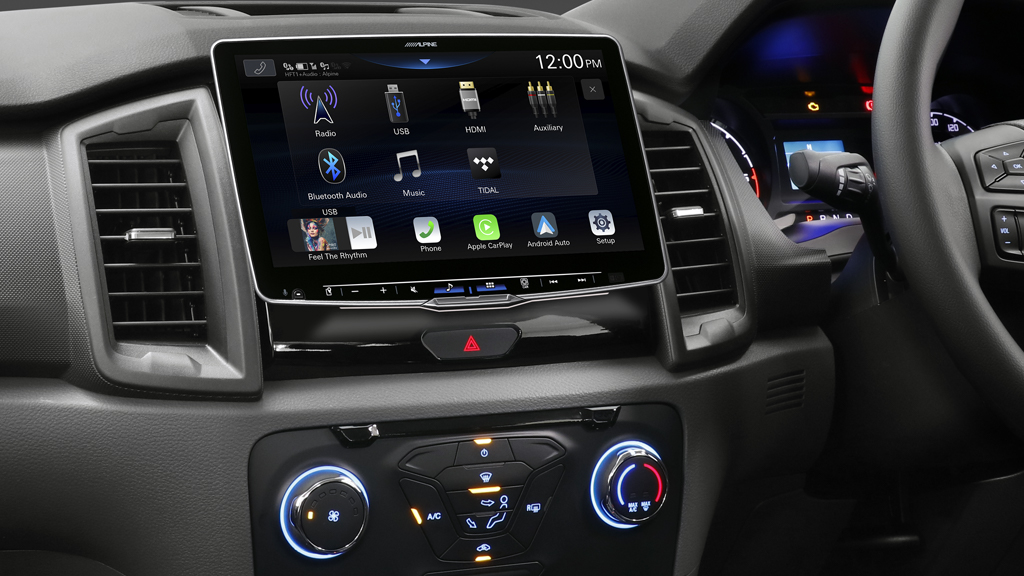
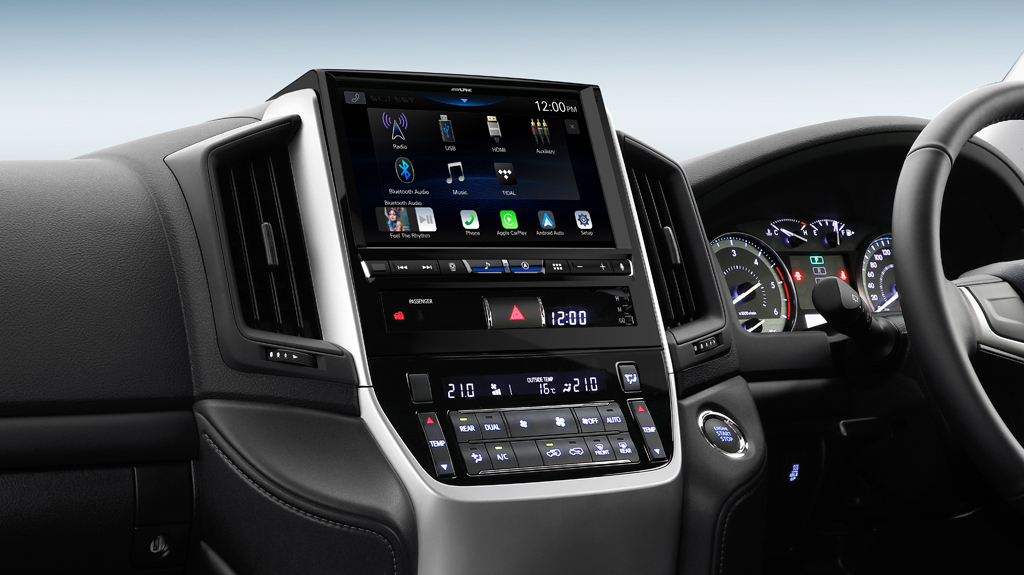
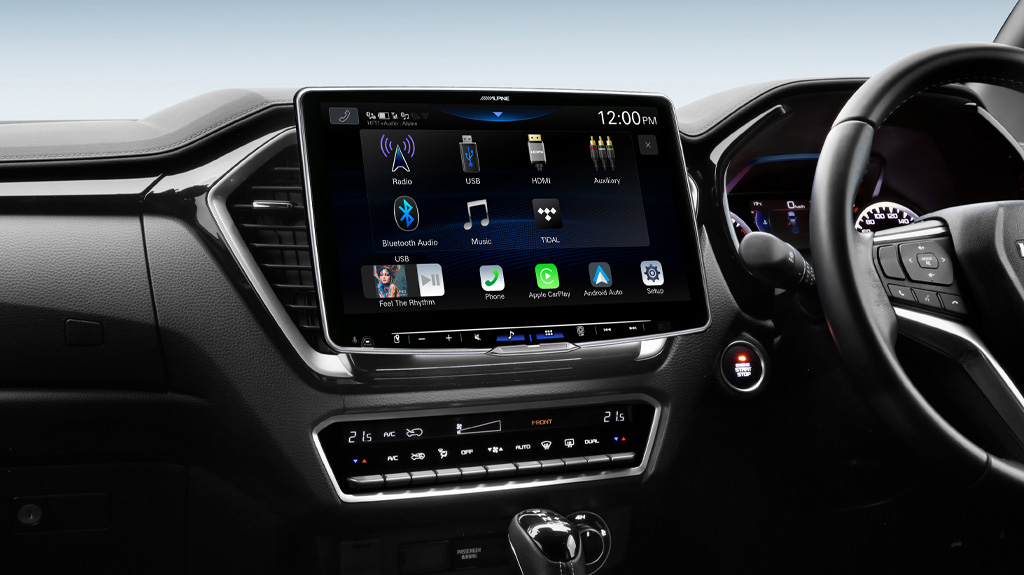
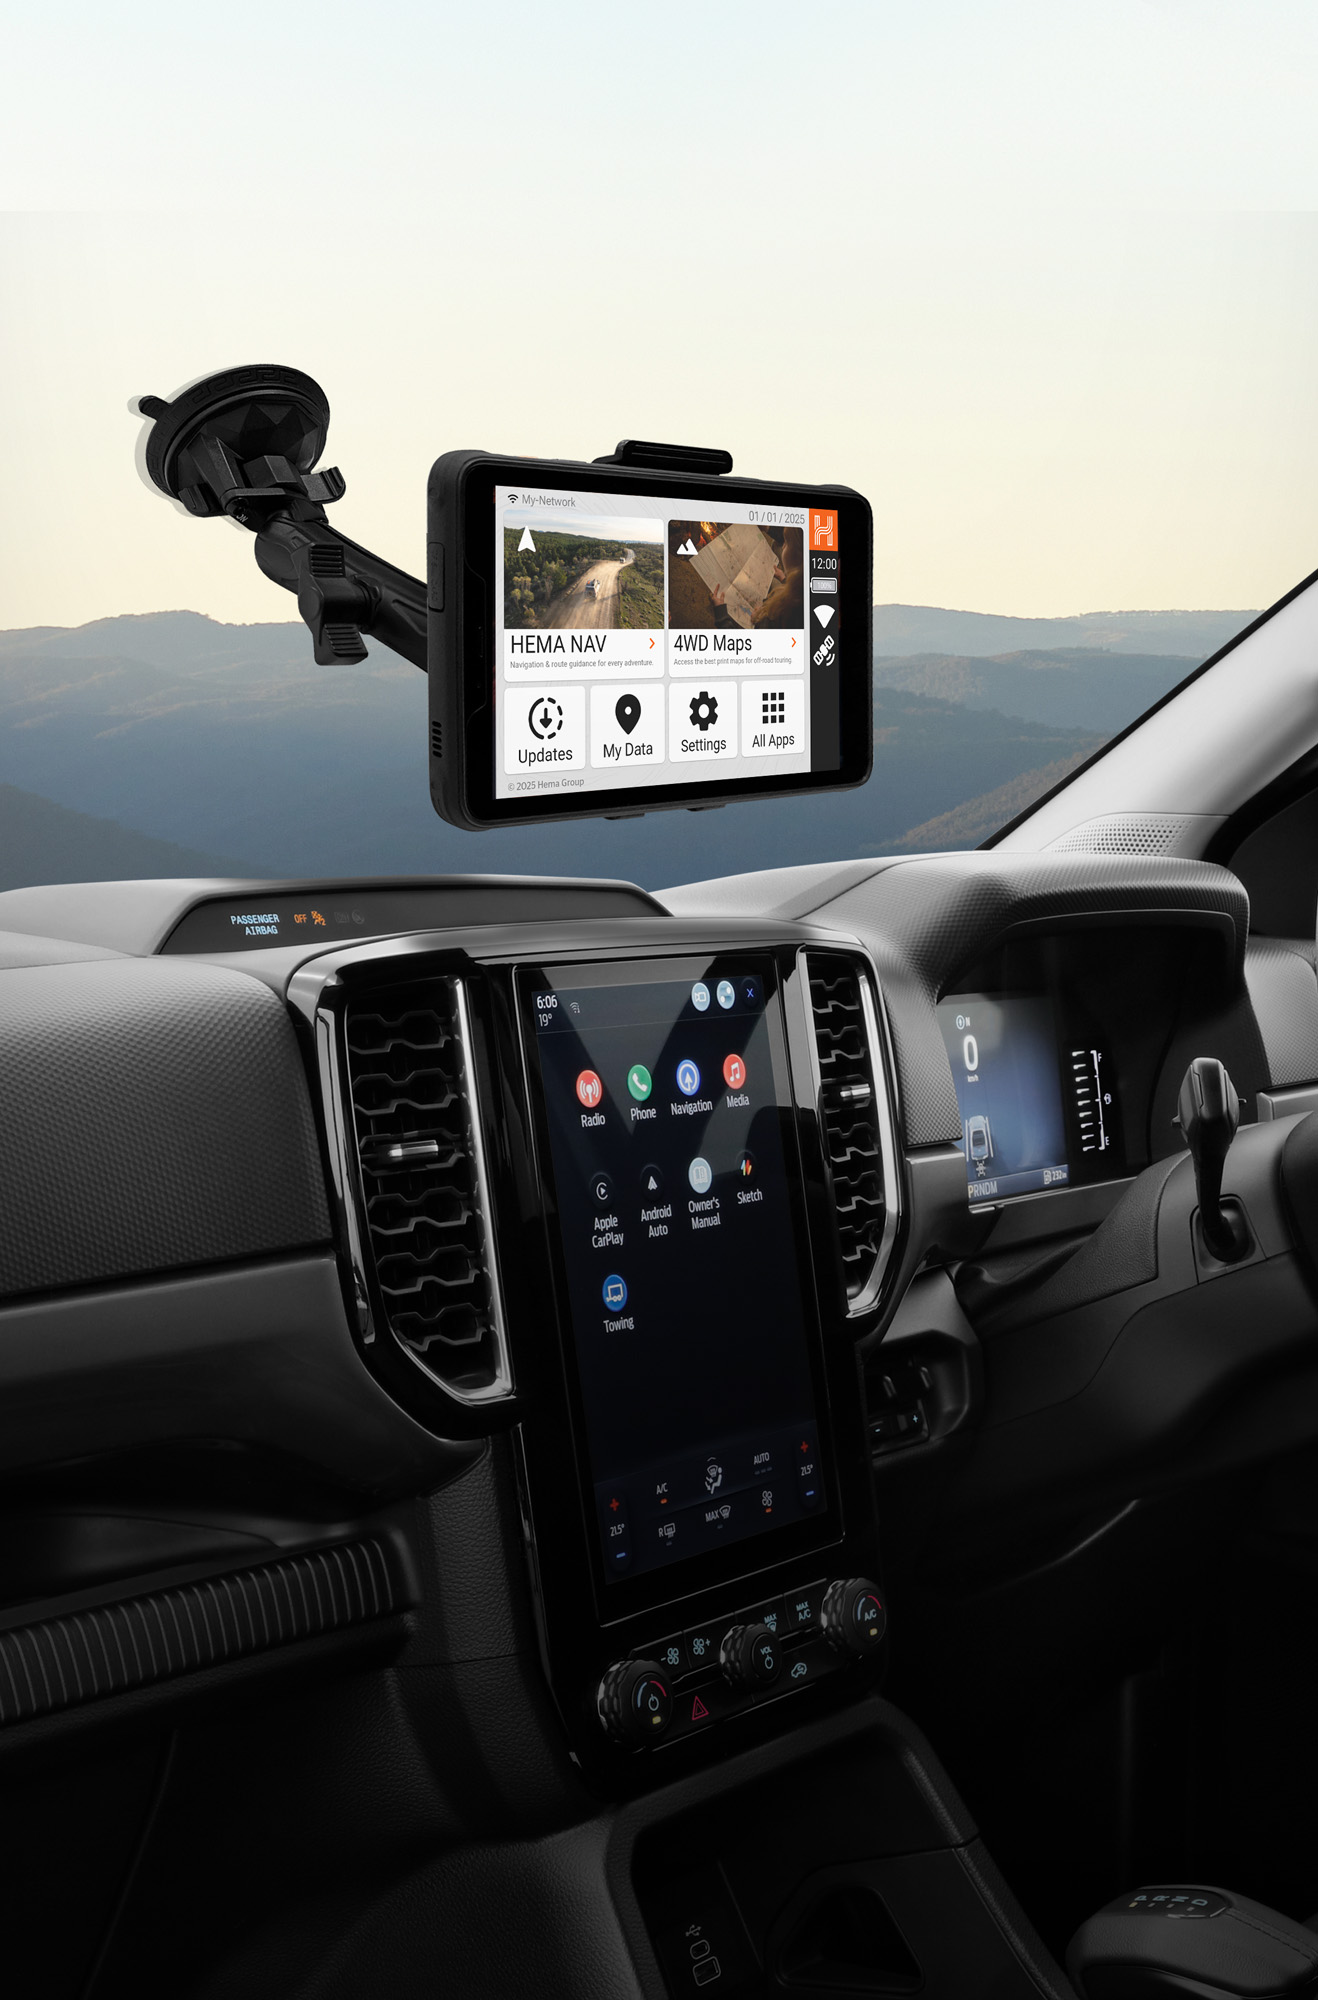
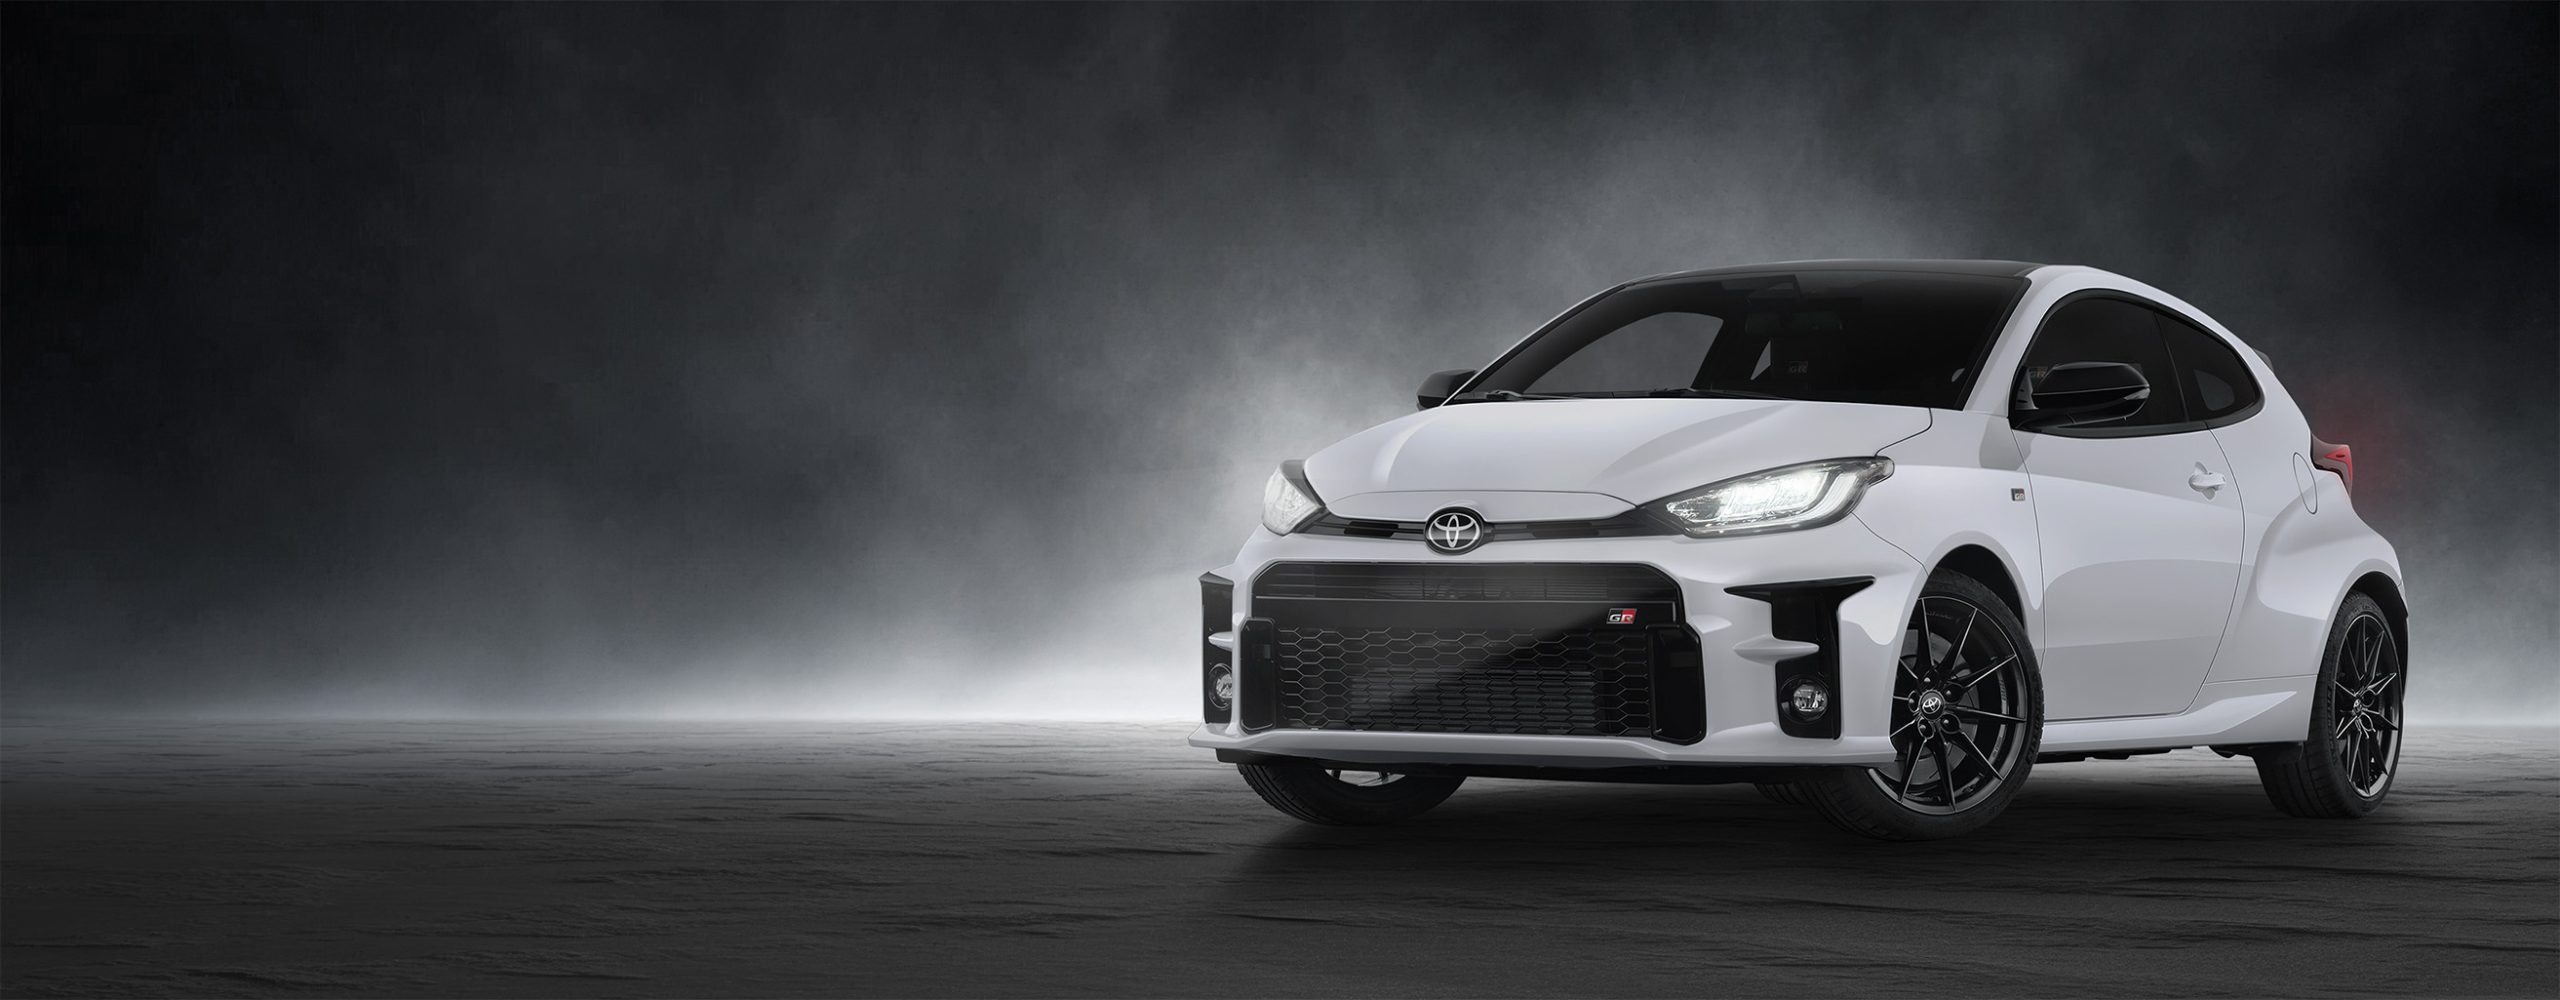
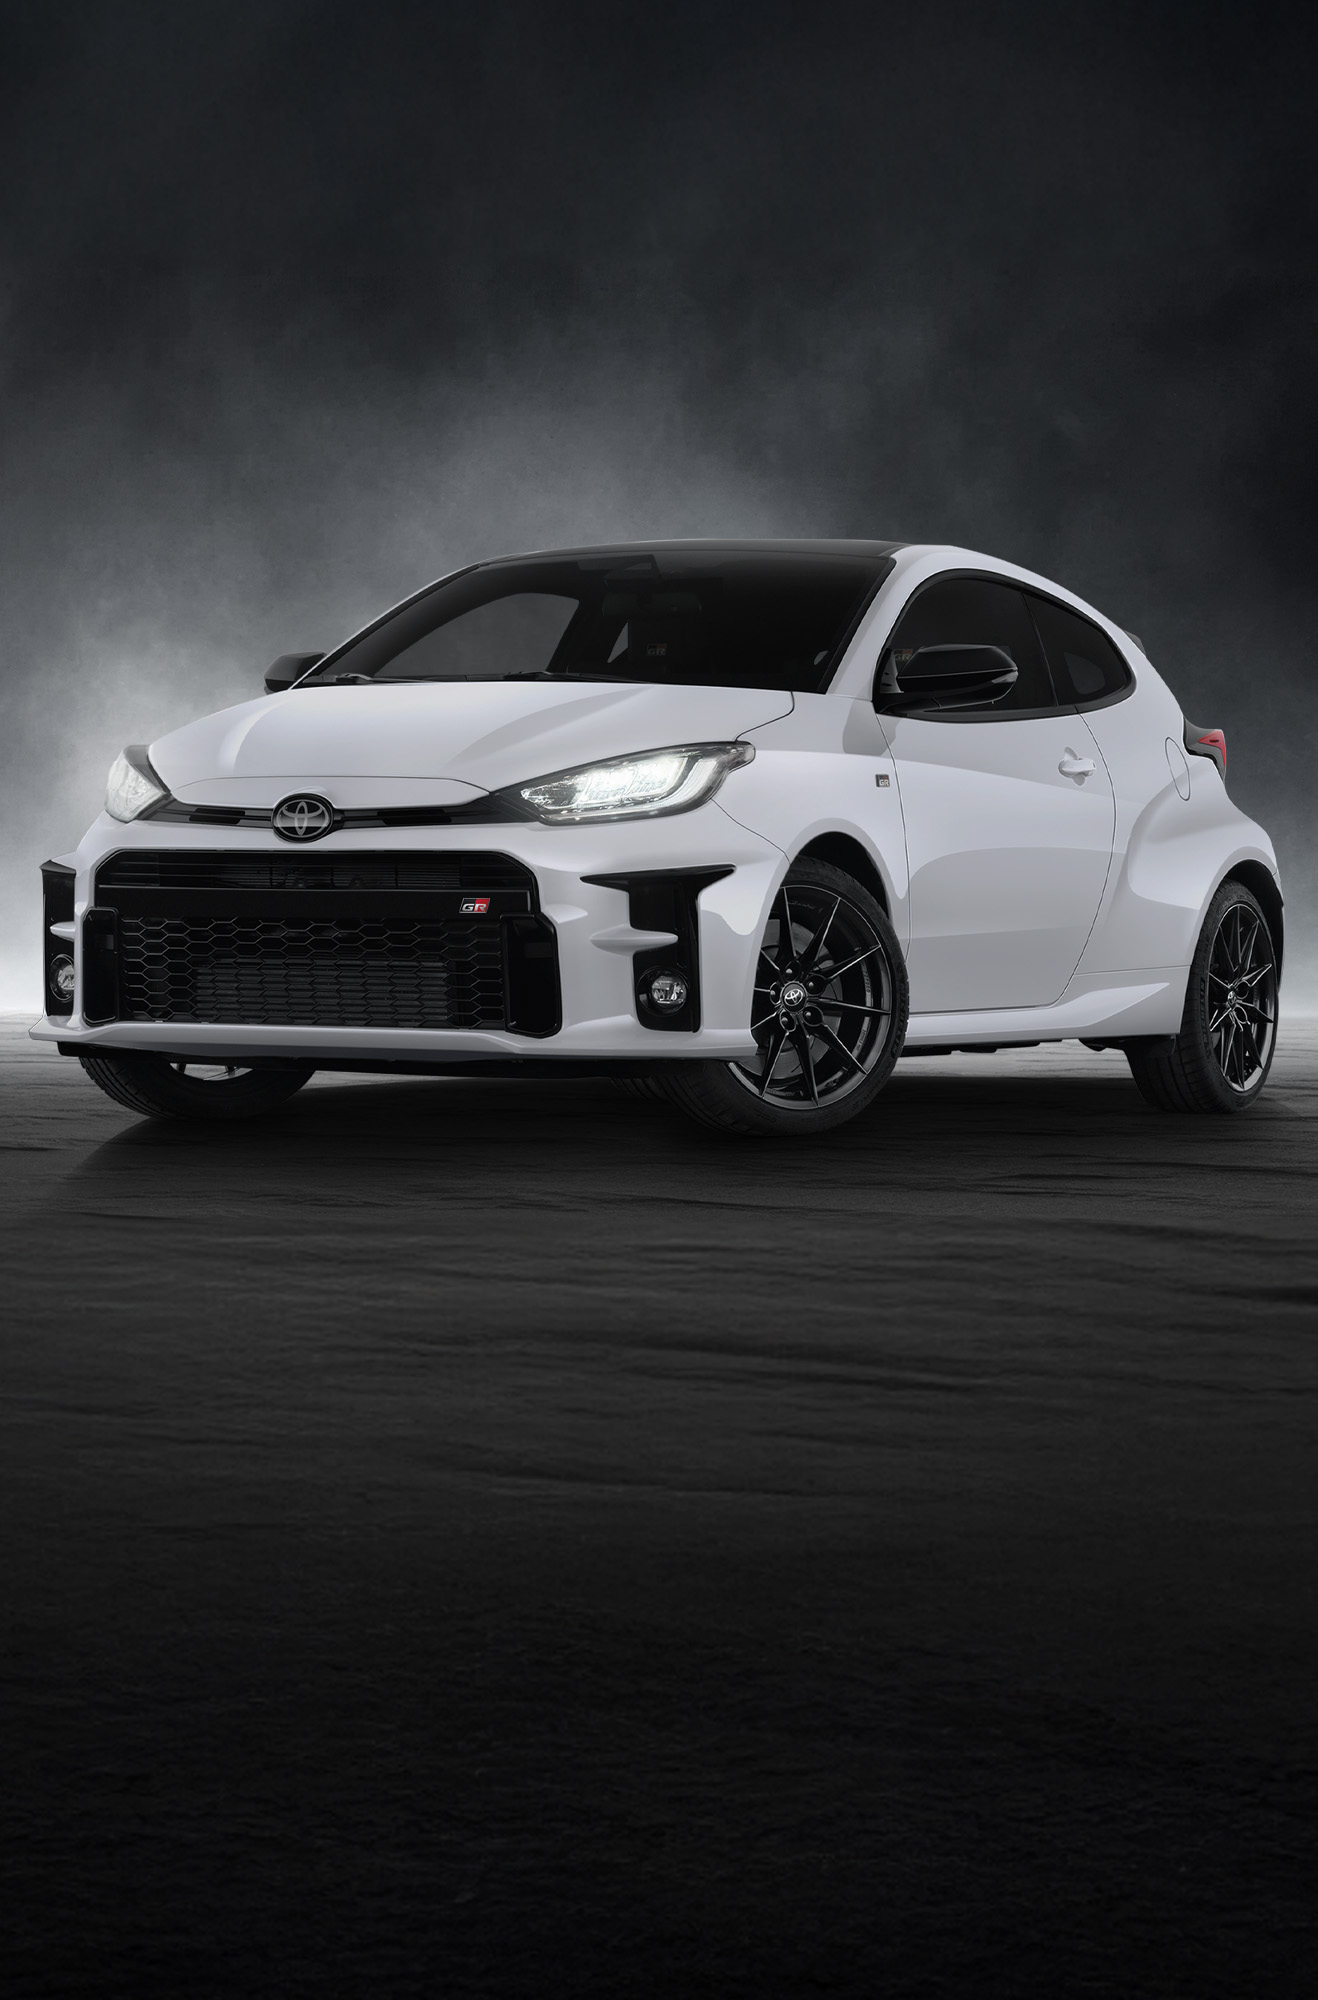
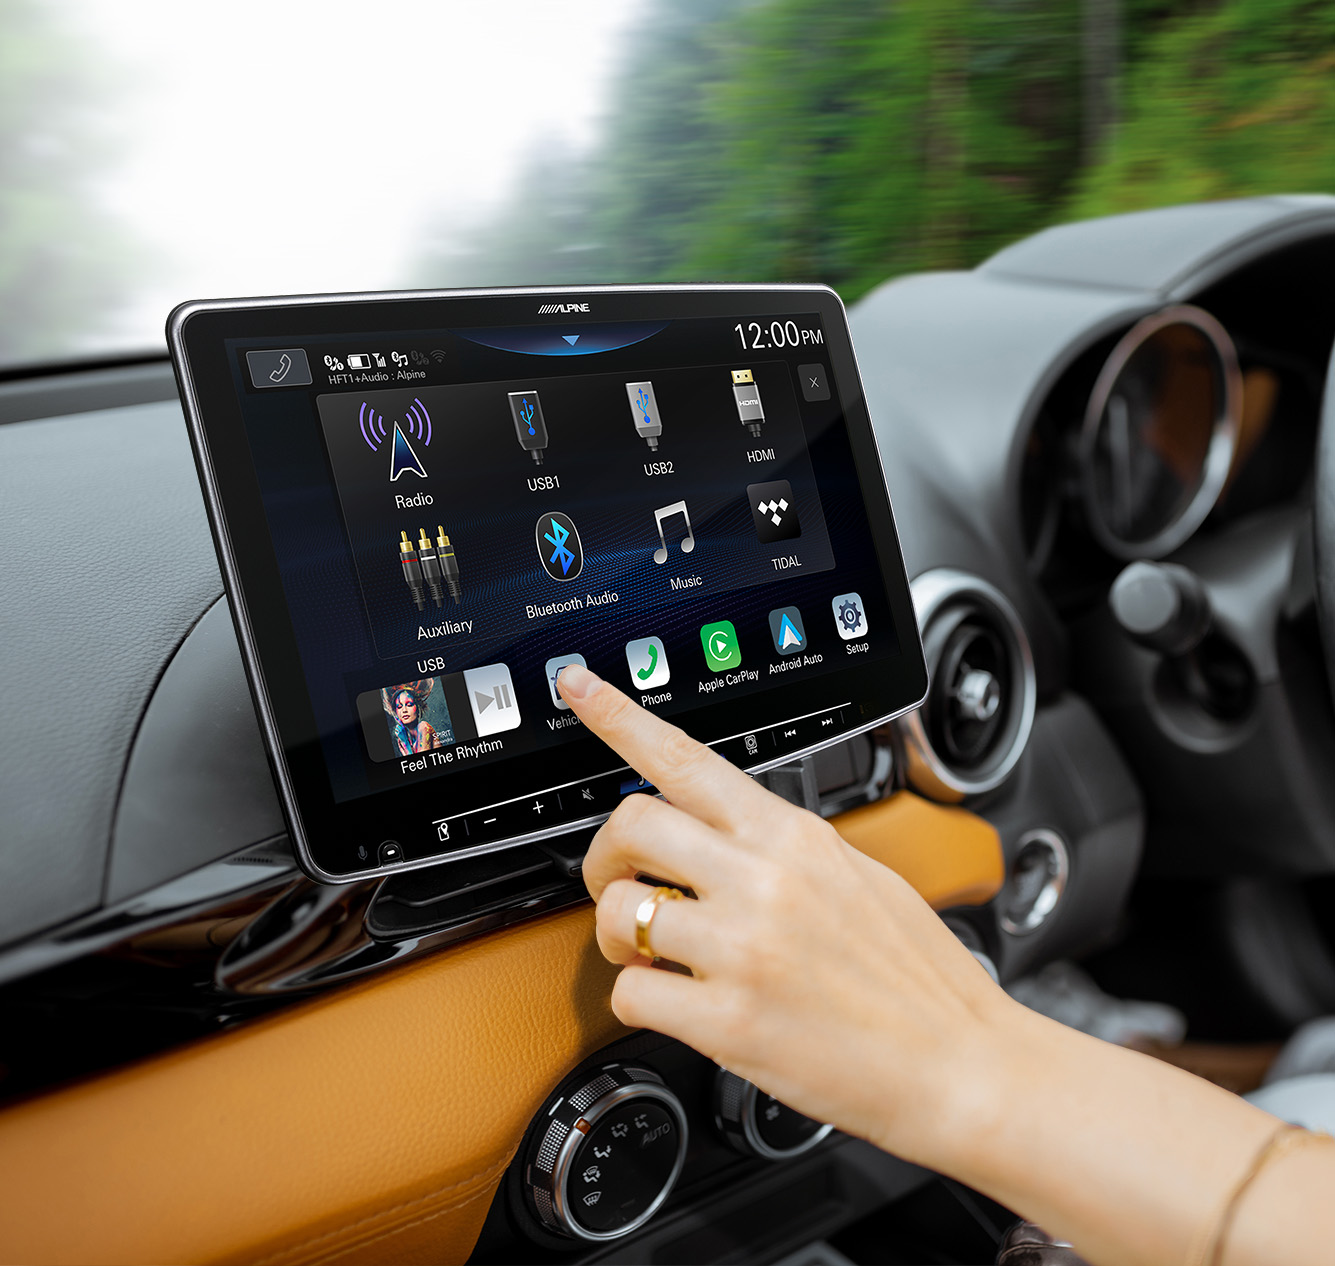
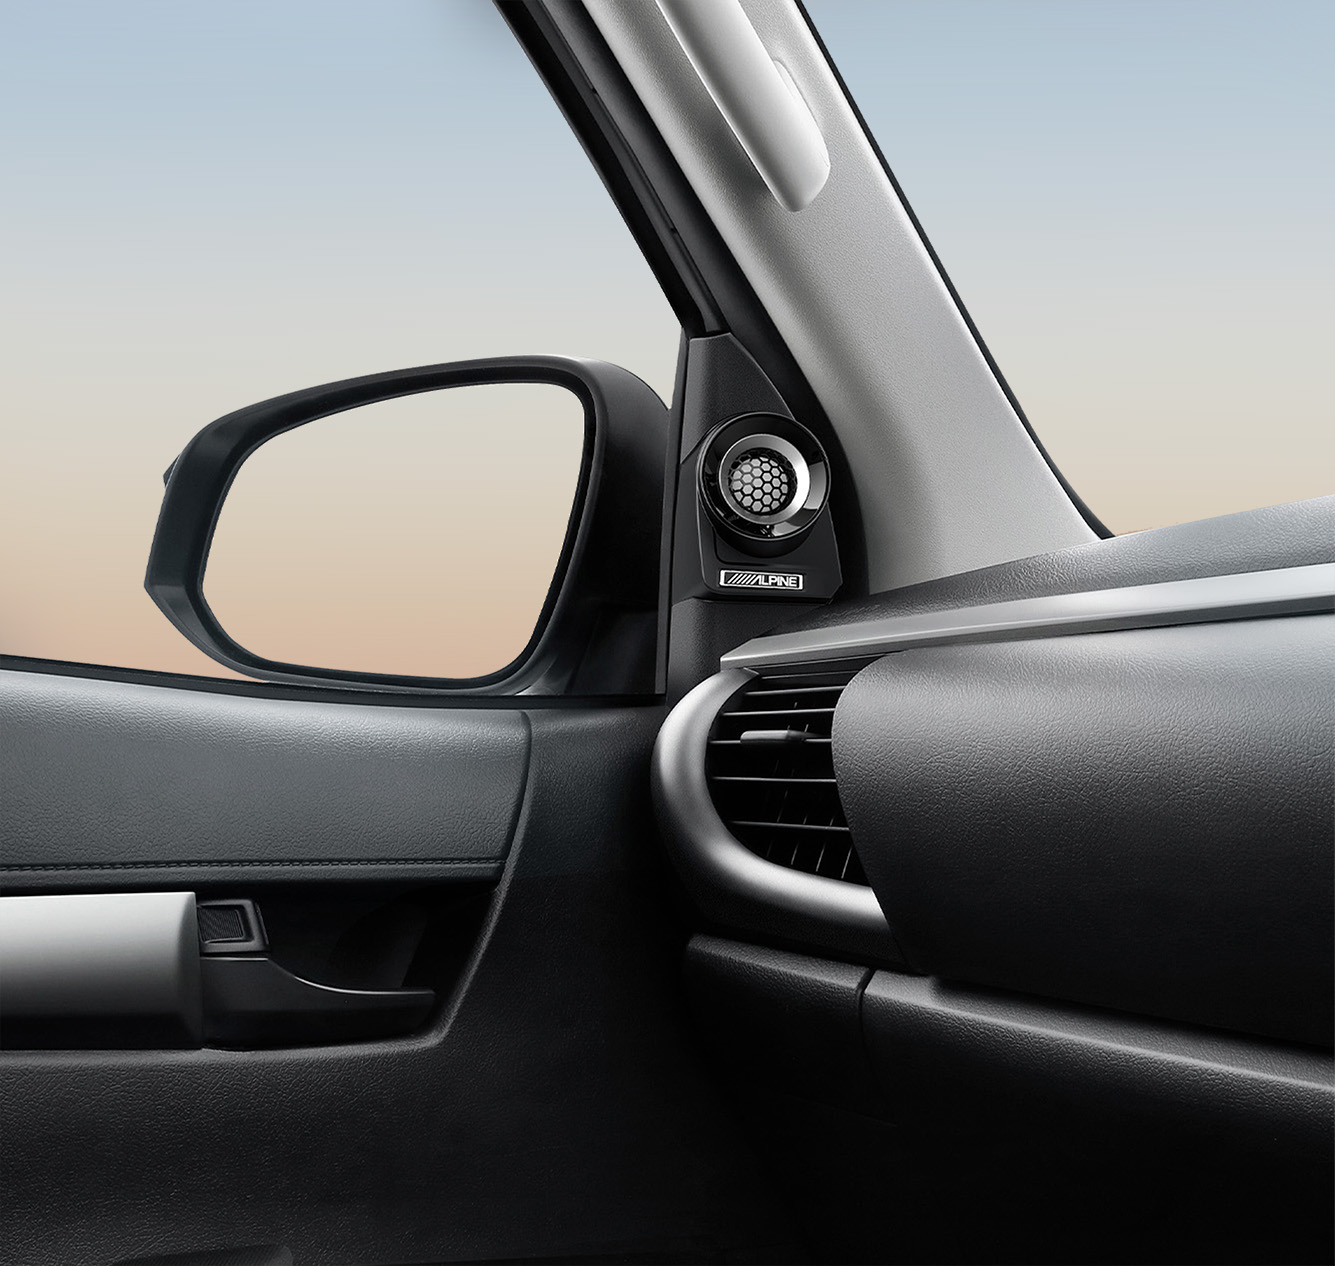
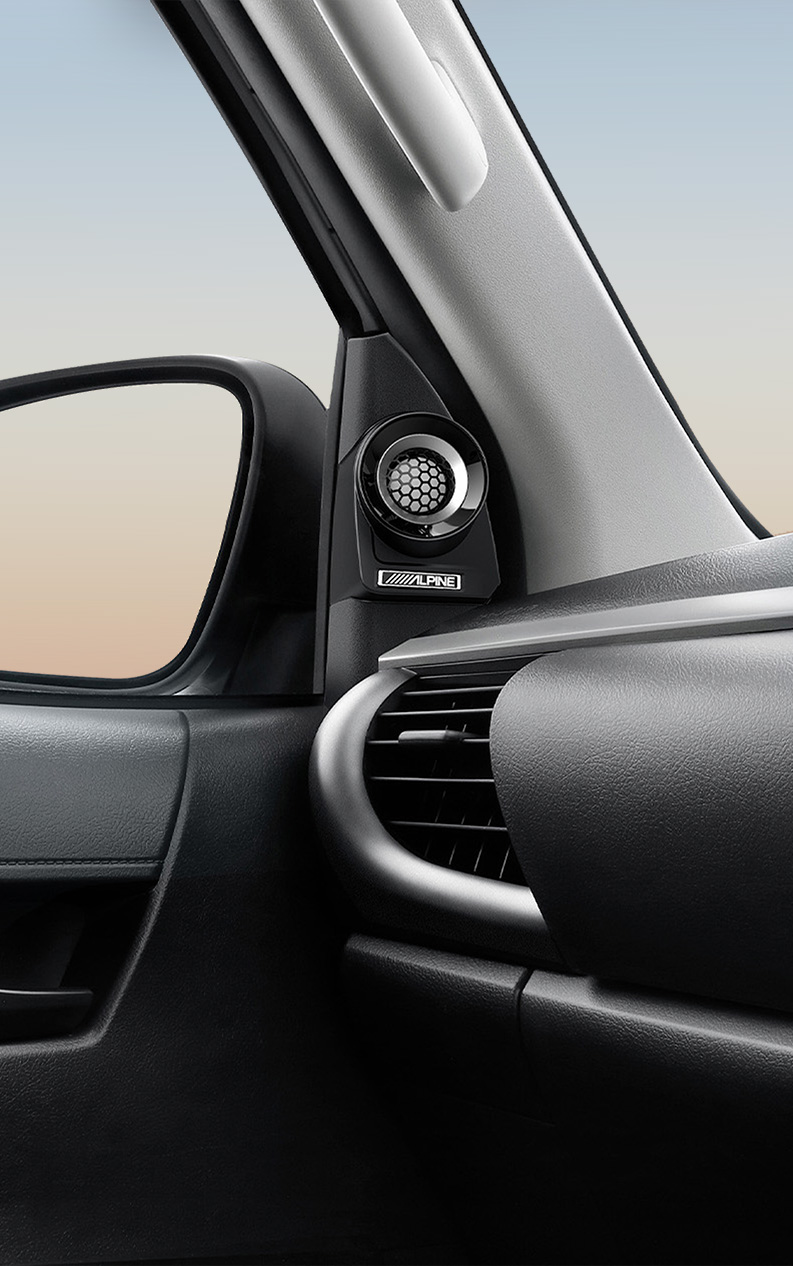
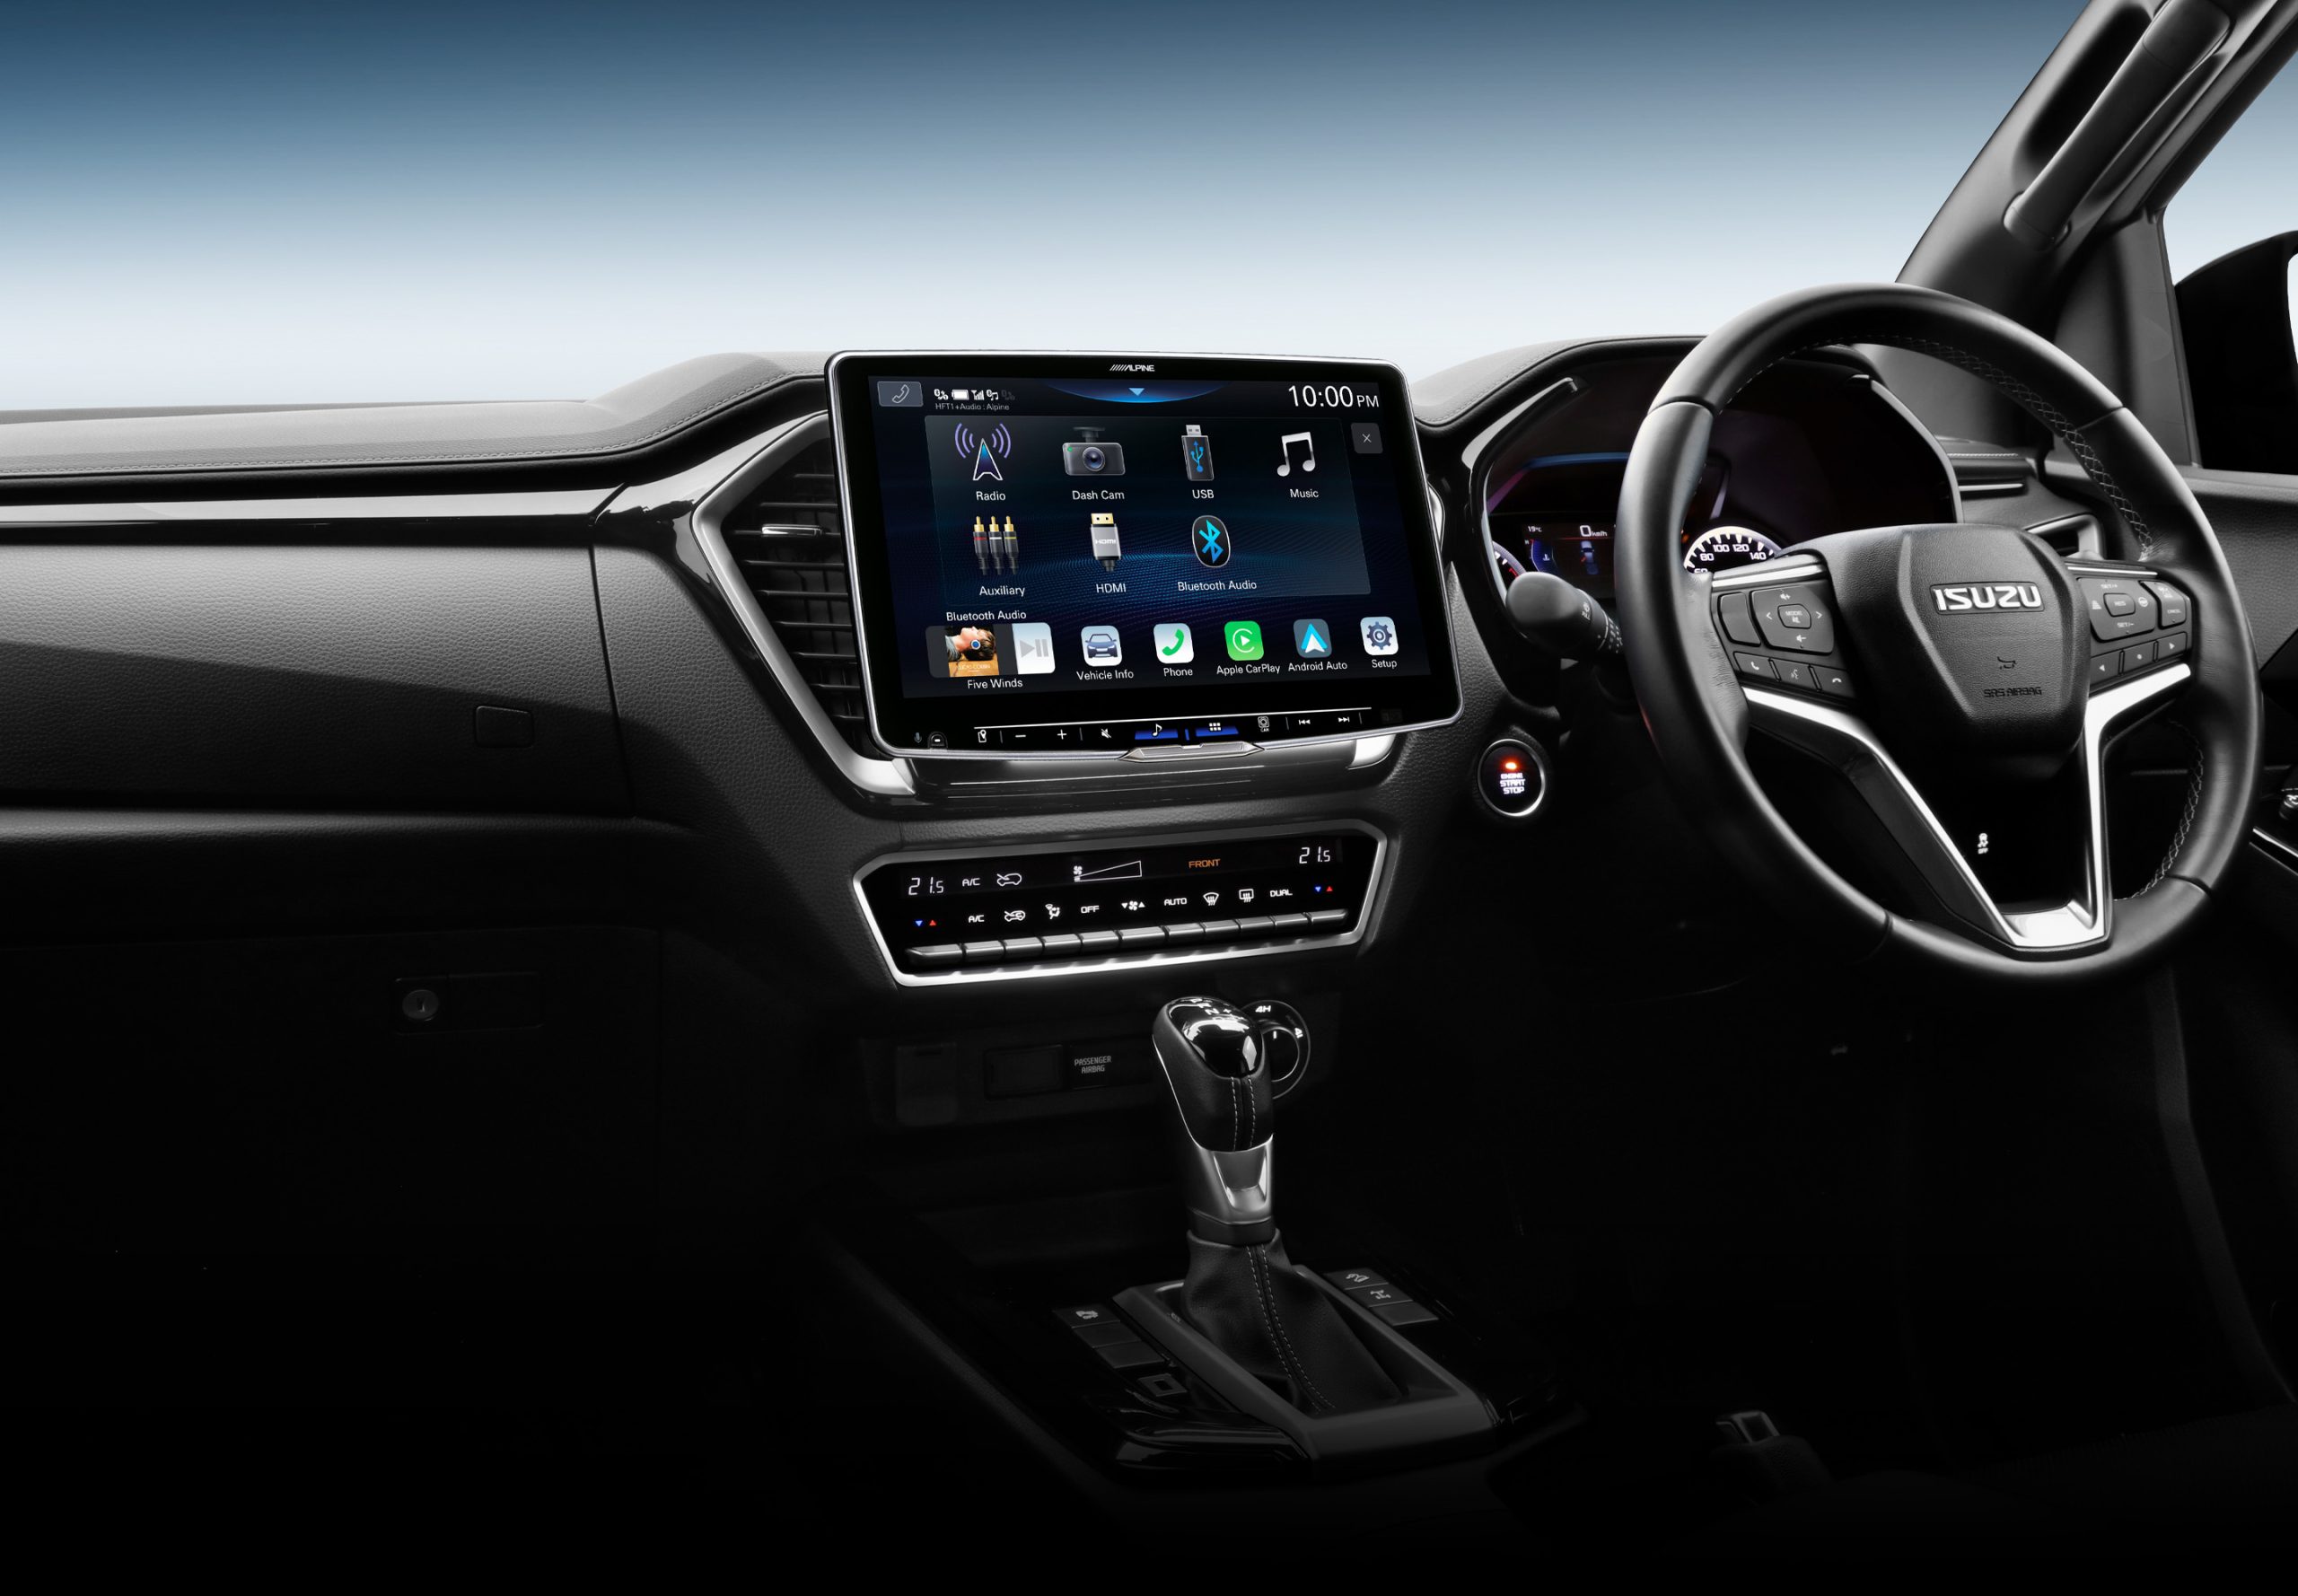
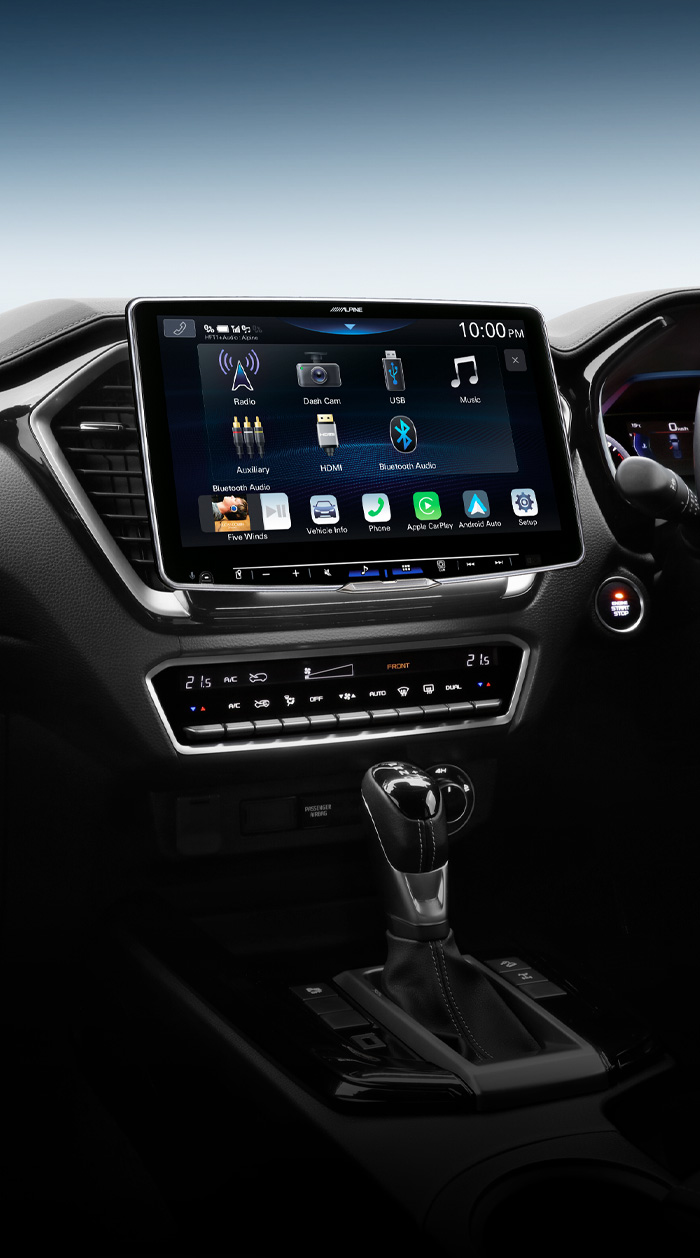
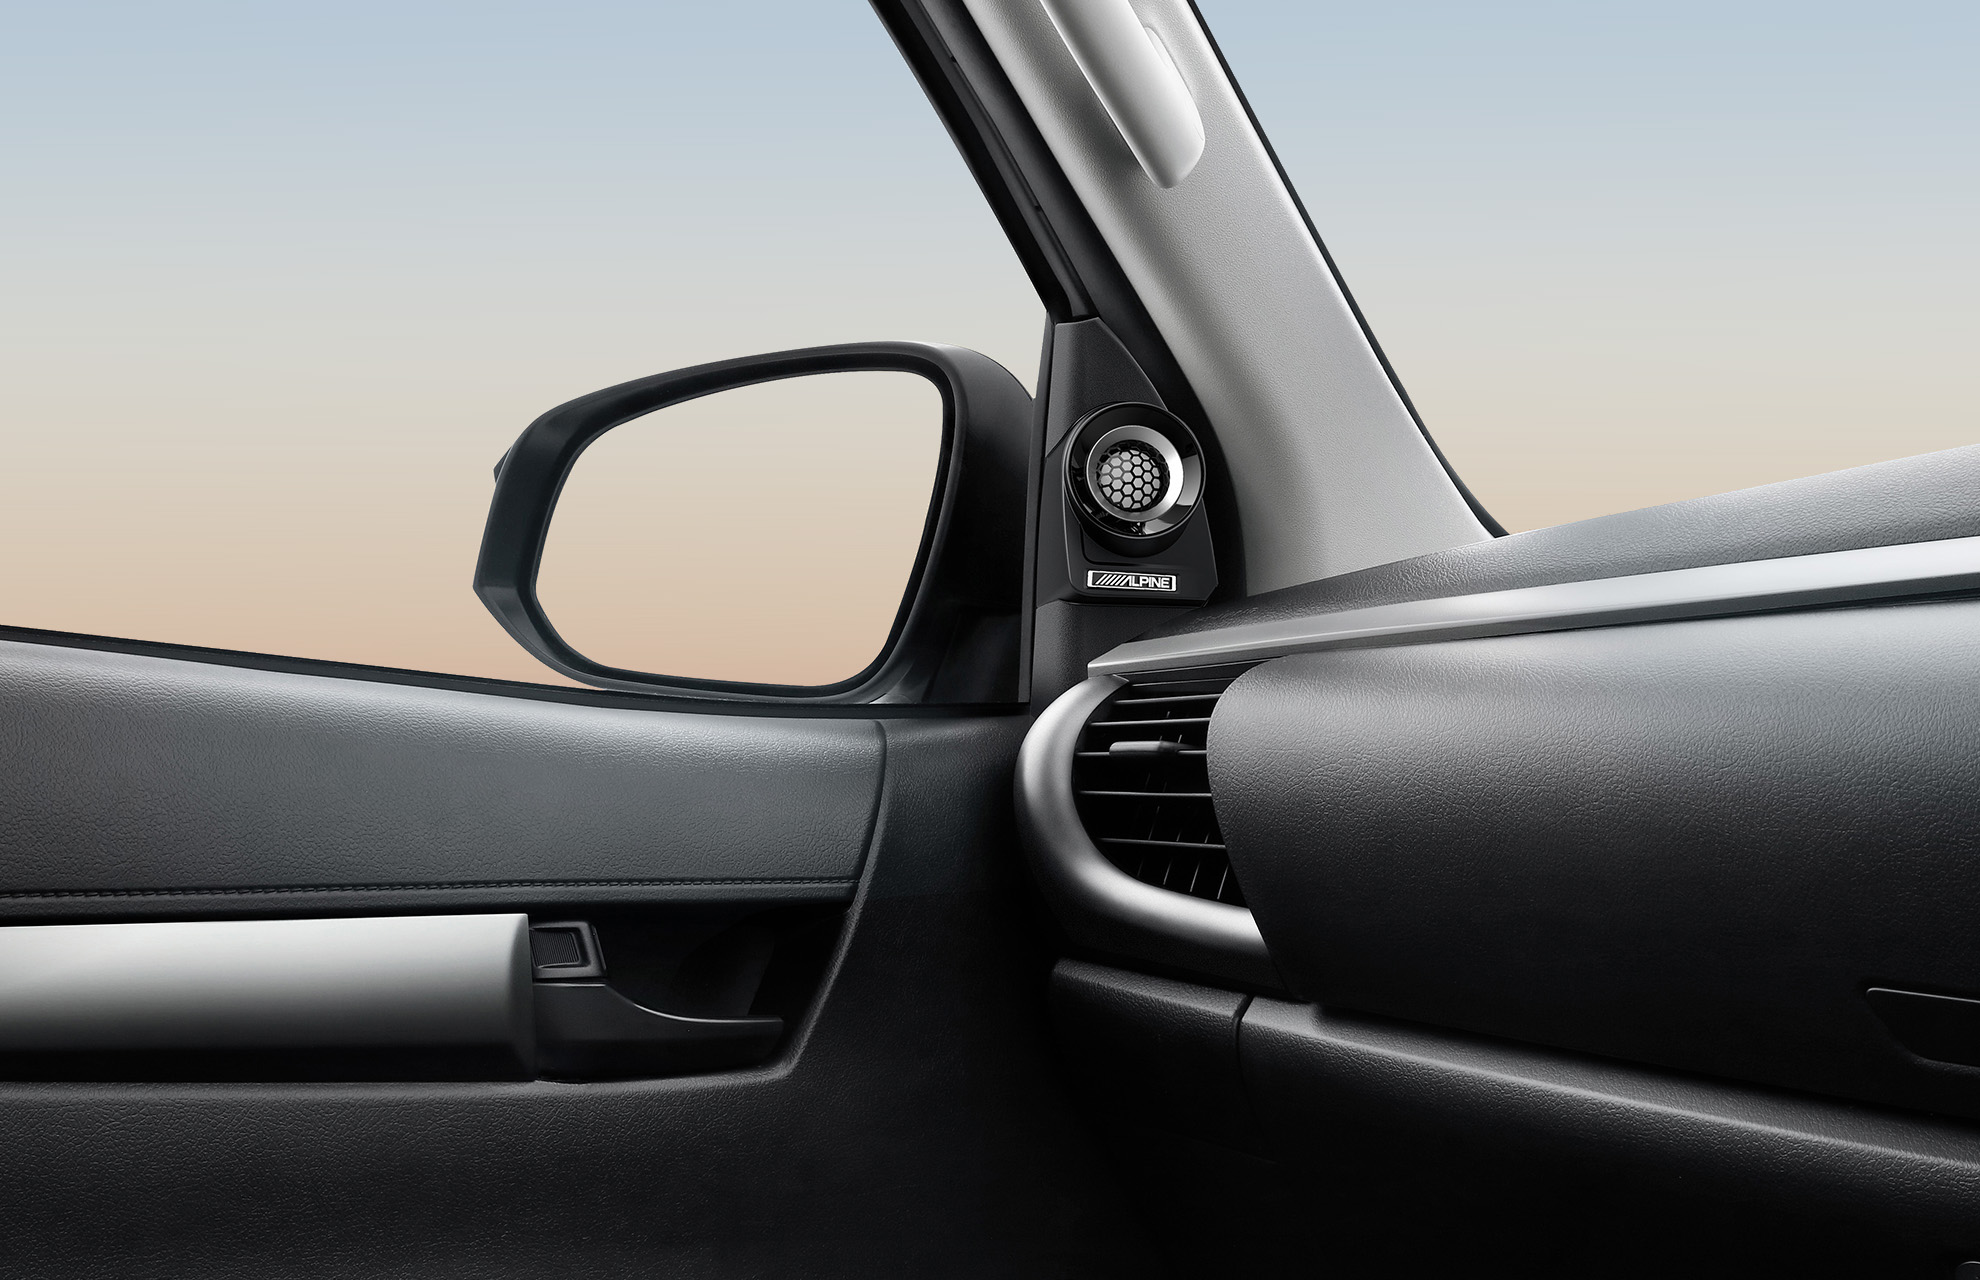
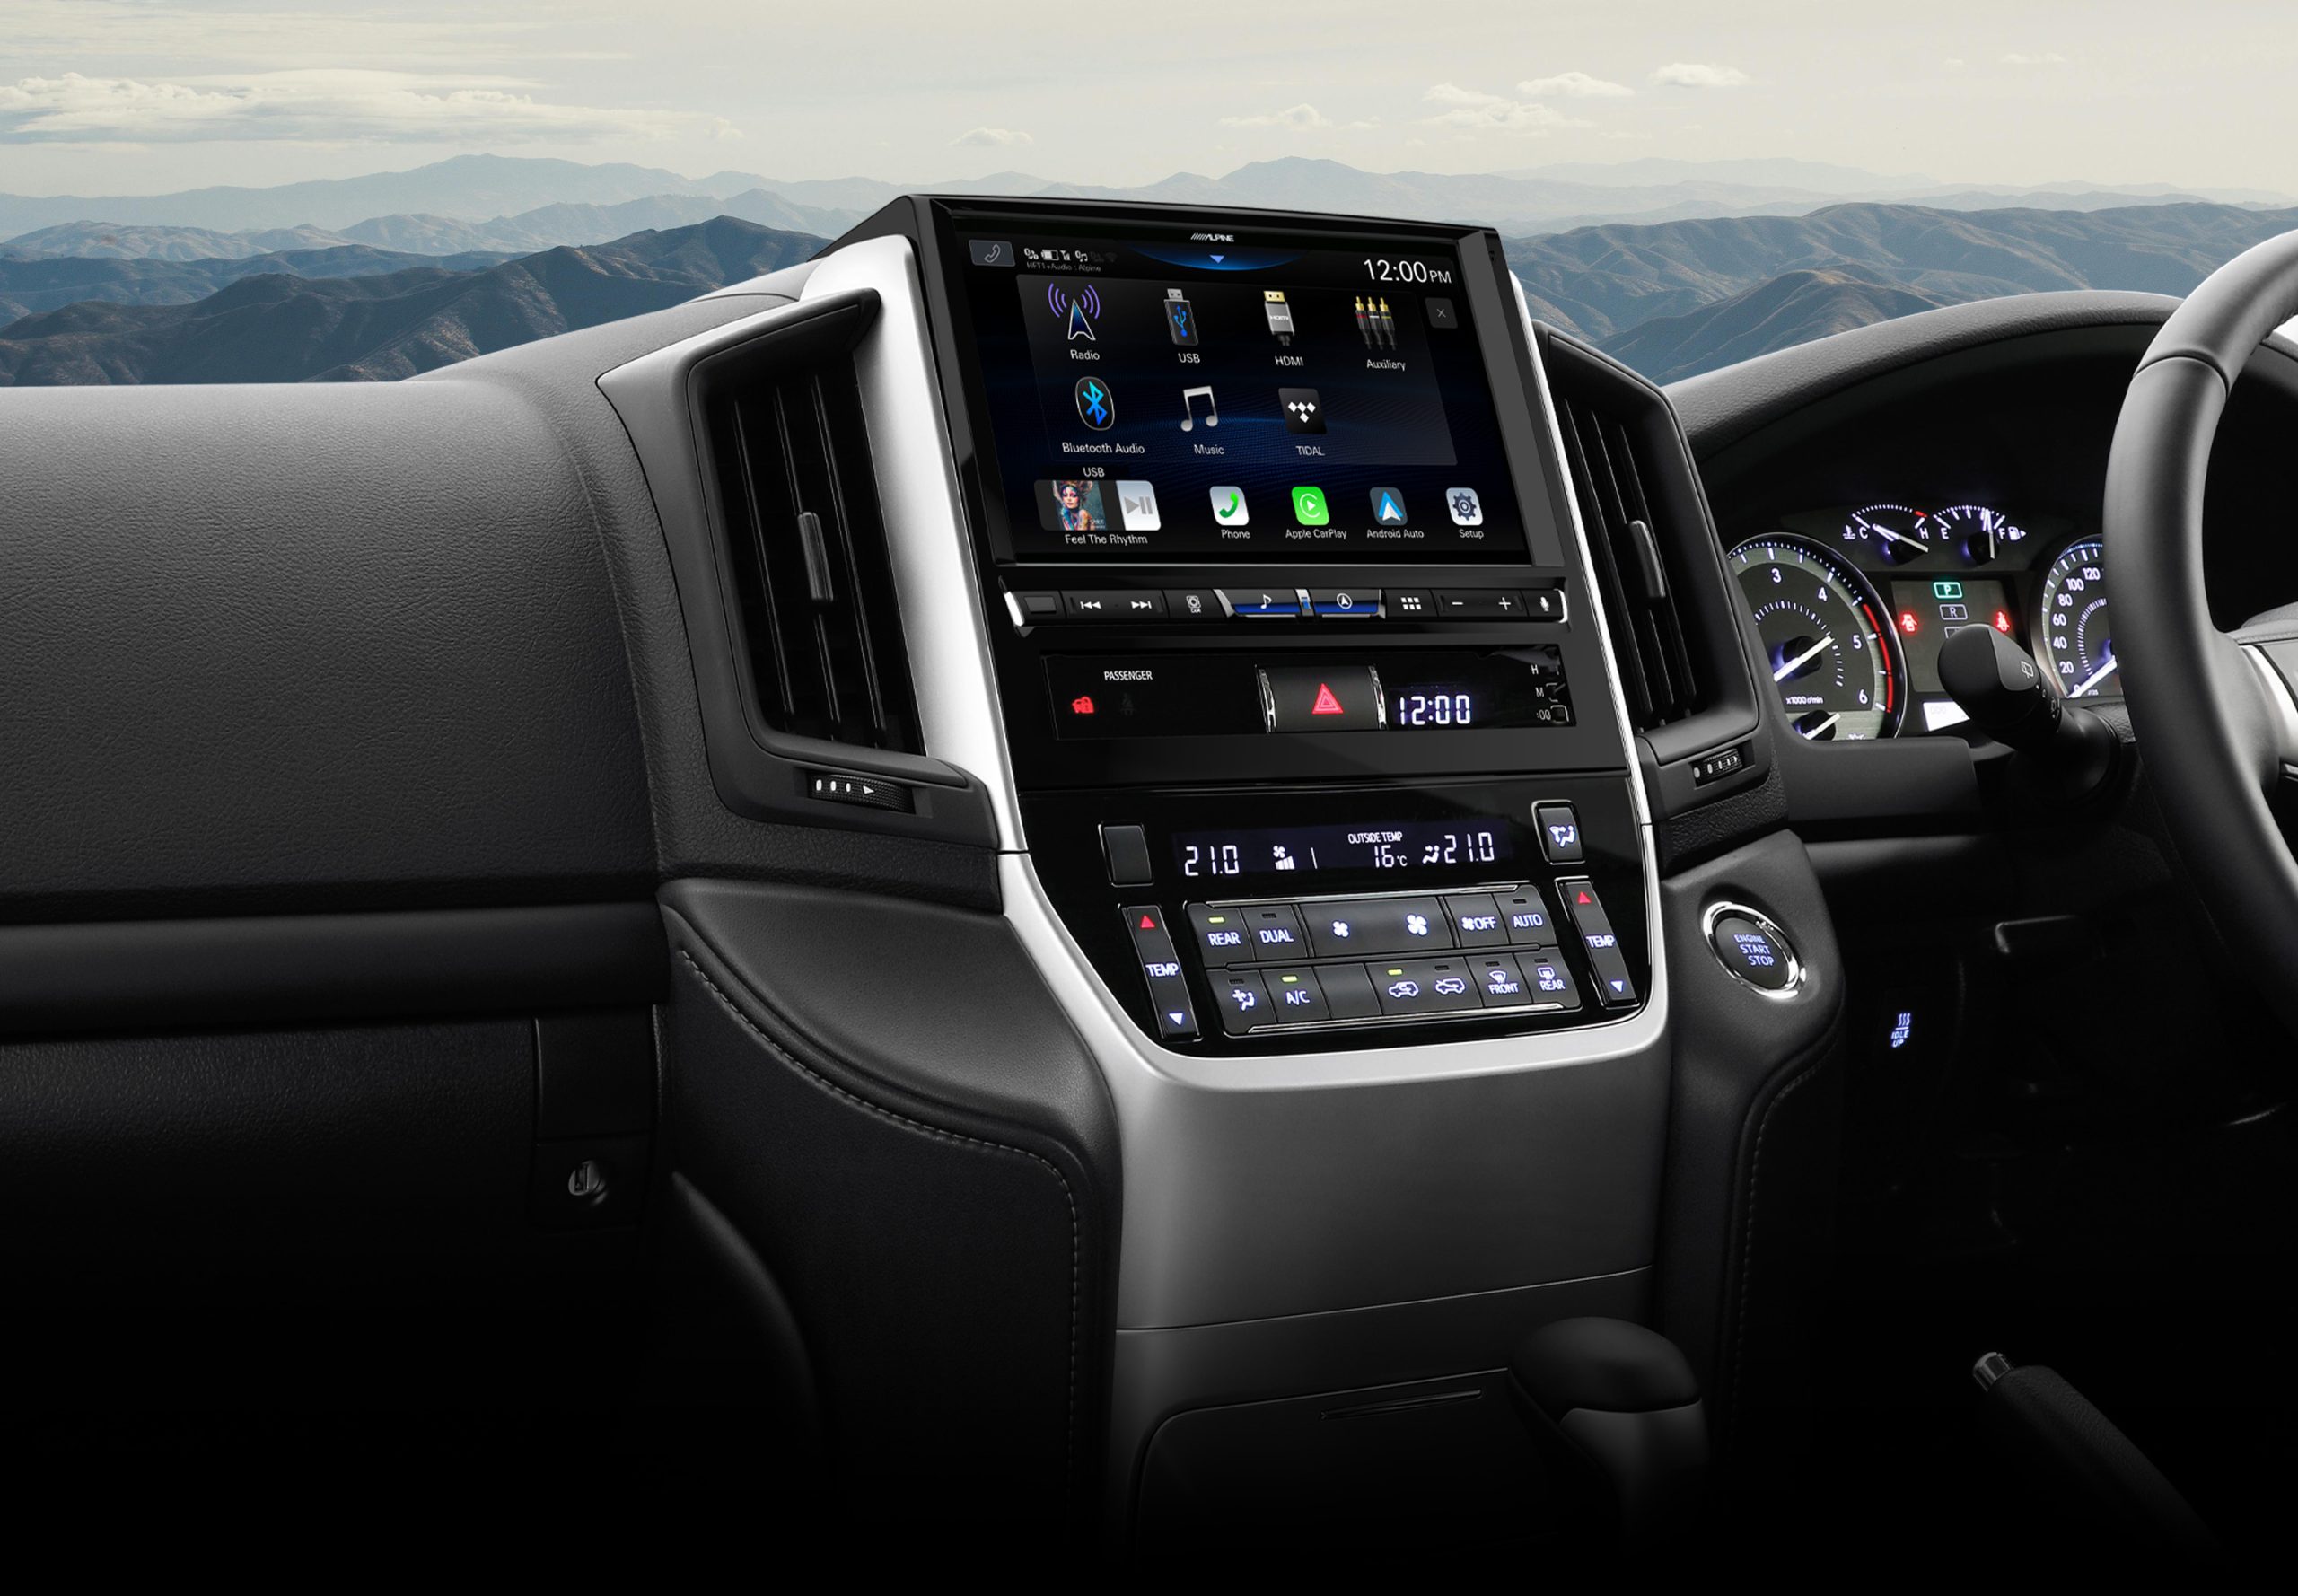
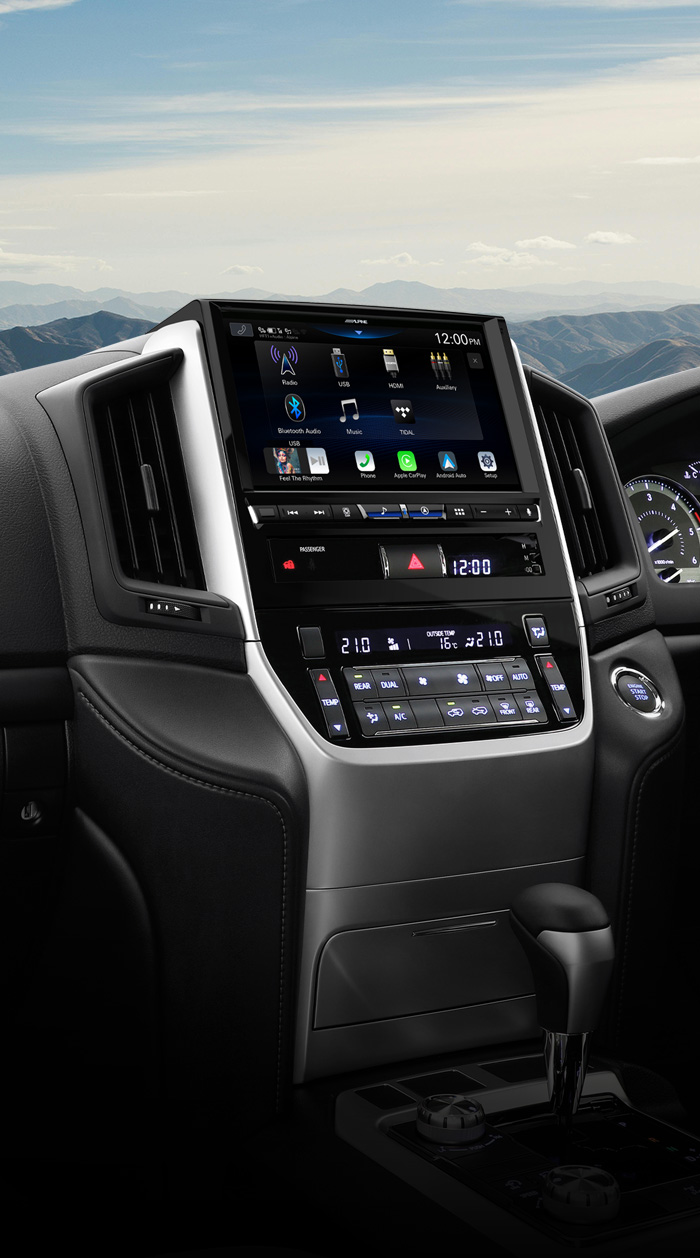
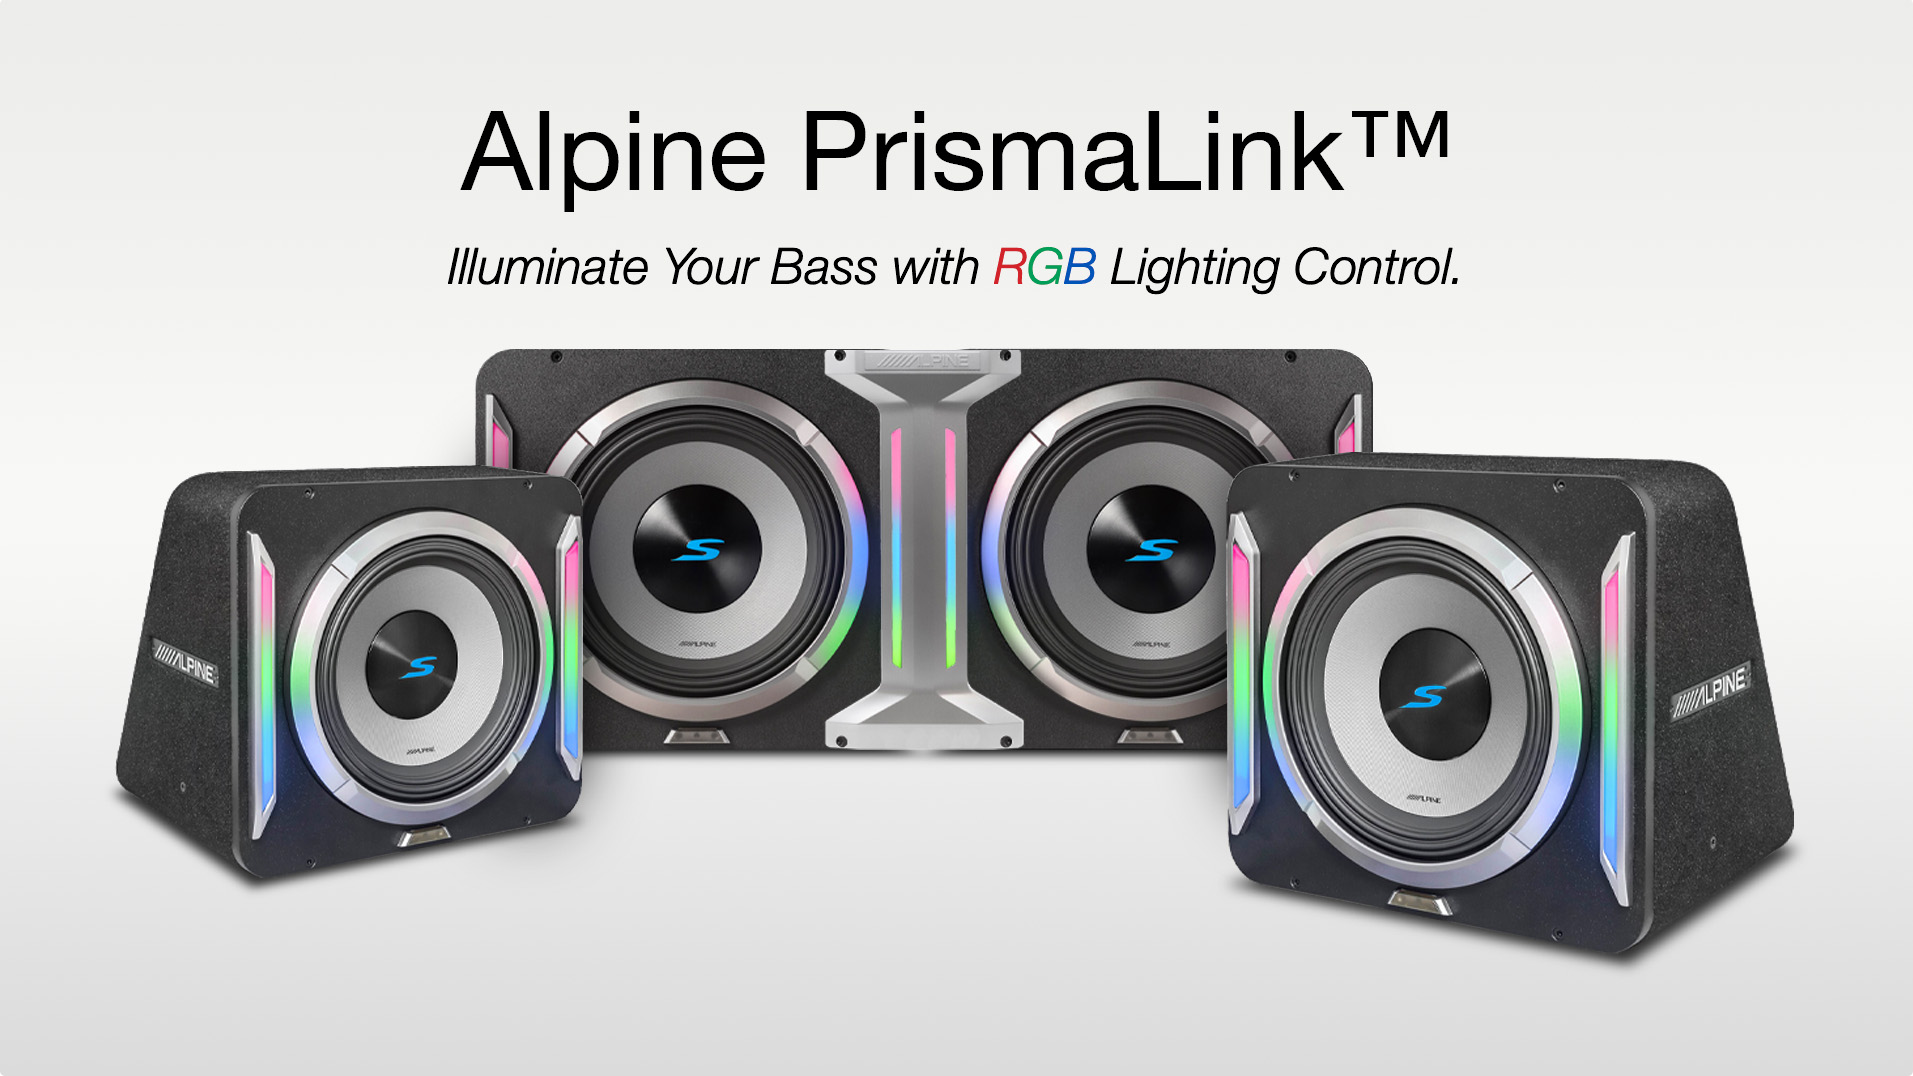
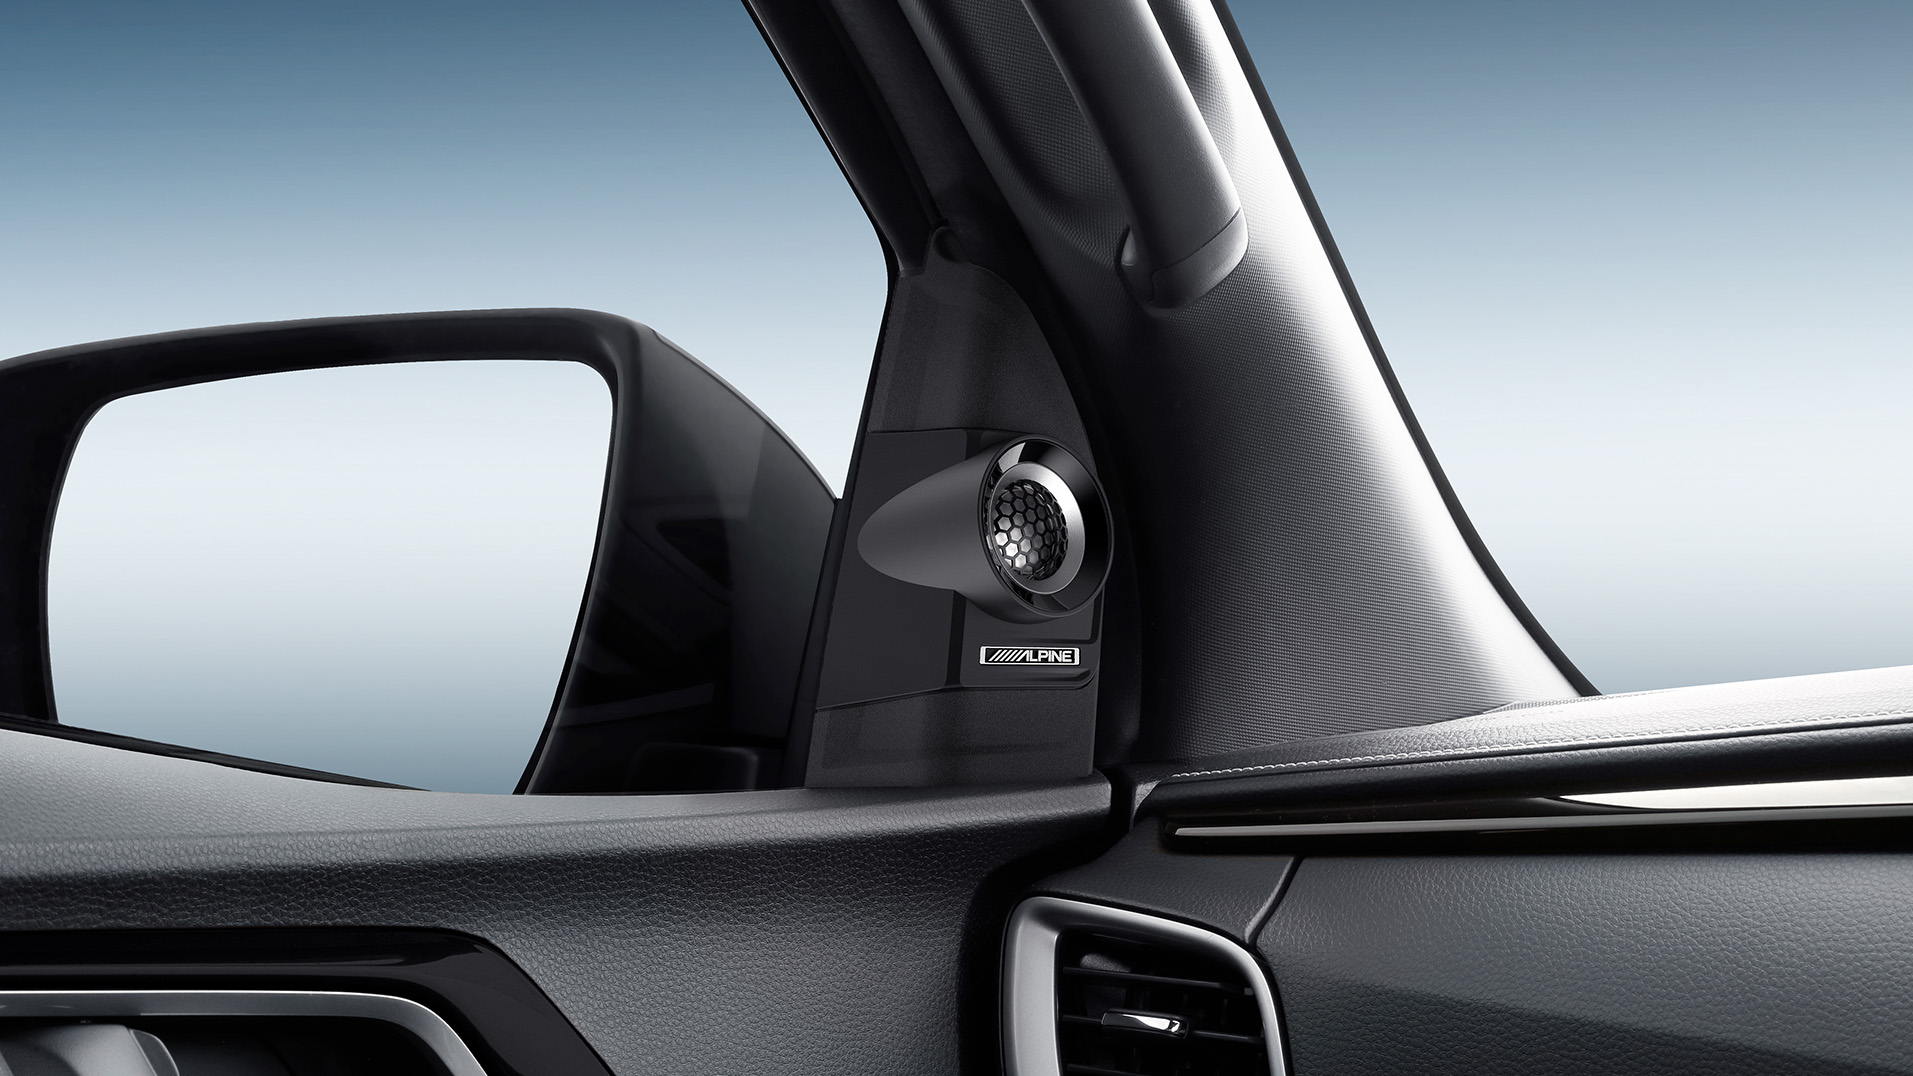
Immerse yourself in a world of unparalleled auditory & visual perfection with Alpine's intensively engineered vehicle specific solutions. Select your vehicle type & learn more today.
Be the first to know about new product launches, exclusive events, announcements & offers.